Note: This feature is best used in combination with PVA Document Distribution via Vault Task. We recommend configuring both features together. For more information, see Enable PVA Document Distribution via Vault Task.
| Effect | Type | Values |
|---|---|---|
| Hide | Sections | Distribution Details, PVA Documents for Distribution, PVA Document Distribution Events |
| Effect | Type | Values |
|---|---|---|
| Display As Required | Fields | Delivery Method |
| Effect | Type | Values |
|---|---|---|
| Display As Required | Fields | Message Subject, Message Body |
| Effect | Type | Values |
|---|---|---|
| Hide | Sections | PVA Document Distribution Events |
| Hide | Fields | Message Subject, Message Body |
| Effect | Type | Values |
|---|---|---|
| Hide | Sections | Distribution Details, PVA Documents for Distribution, PVA Document Distribution Events |
| Effect | Type | Values |
|---|---|---|
| Display As Required | Fields | Message Subject, Message Body |
| Effect | Type | Values |
|---|---|---|
| Hide | Fields | Message Subject, Message Body |
Note: The following default values are only recommendations. Make sure to edit them based on your organization’s verbiage and processes for PVA distributions.
| Object | Permissions |
|---|---|
| PVA Document for Distribution | Read, Create, Edit, Delete |
| PVA Document Distribution Event | Read |
#### Create User Actions on the Distribution Error State
Complete the following steps to create user actions on this state:
1. In the **States** section, select **Distribution Error**.
2. On the **Distribution Error** page, in the **User Actions** section, select **Edit**.
3. Select **Create Rule** and create the following rules:
**Rule 1: Retry Document Distribution via Email**
* **Perform with conditions > If** Activity Type > equals > Outbound
* **Add condition > If** > Delivery Method > equals > Email
* **Allow the following actions** > Distribute PVA Document(s)
* **Action Label**: Enter "Retry Document Distribution via Email"
**Rule 2: Cancel Activity or Mark Complete**
* **Always > Allow the following actions** > Change State to > Won't Do
* **Action Label**: Enter "Cancel Activity"
* **Add Action > Change State to** > Complete
* **Action Label**: Enter "Mark Complete"
### Configure Settings on the PVA Action Item Lifecycle
Go to **Configuration > Object Lifecycles > PVA Action Item Lifecycle** and complete the configuration described in this section.
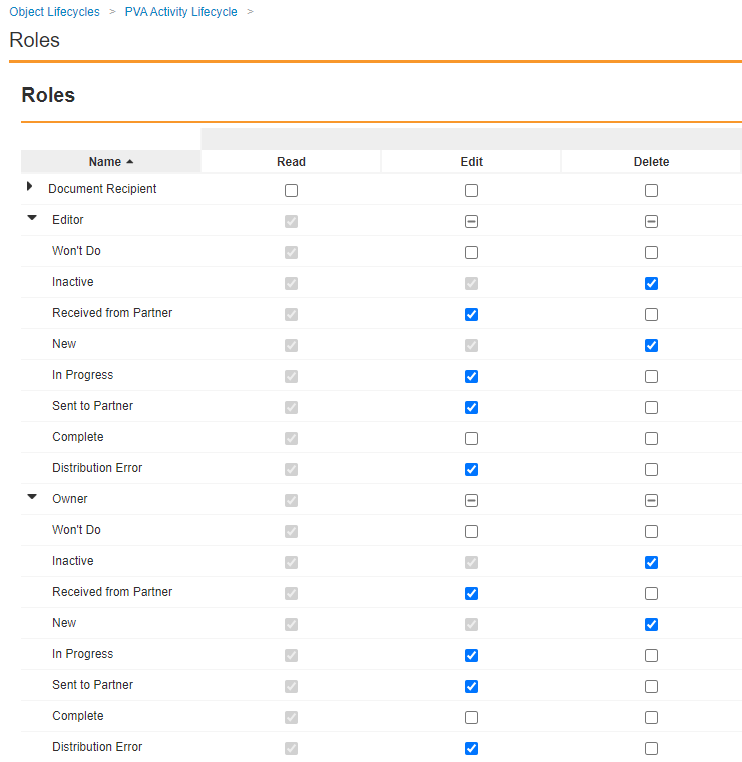
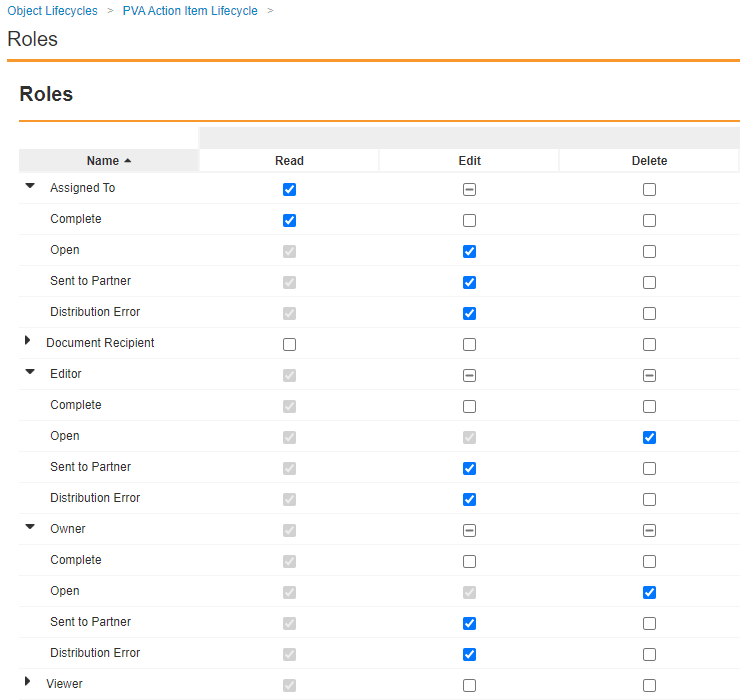
#### Update Role Permissions
Complete the following steps to update access for relevant roles:
1. In the **Roles** section, grant **Edit** permissions to the **Assigned To**, **Editor**, and **Owner** roles on the following states:
* Open
* Sent to Partner
* Distribution Error
2. Remove **Edit** and **Delete** permissions for the **Assigned To**, **Editor**, and **Owner** roles on the **Complete** state.
 #### Create a User Action on the Open State
Complete the following steps to create a user action on this state:
1. In the **States** section, select **Open**.
2. On the **Open** page, in the **User Actions** section, select **Edit**.
3. Select **Create Rule** and create the following rule:
* **Perform with conditions > If** Contact Communication Method > equals > Email
* **Allow the following actions** > Distribute PVA Document(s)
* **Action Label**: Enter "Send Document(s) via Email"
#### Create User Actions on the Distribution Error State
Complete the following steps to create user actions on this state:
1. In the **States** section, select **Distribution Error**.
2. On the **Distribution Error** page, in the **User Actions** section, select **Edit**.
3. Select **Create Rule** and create the following rules:
**Rule 1: Retry Email Distribution**
* **Perform with conditions > If** Contact Communication Method > equals > Email
* **Allow the following actions** > Distribute PVA Document(s)
* **Action Label**: Enter "Retry Email Distribution"
**Rule 2: Mark Complete or Back to Open**
* **Always > Allow the following actions** > Change State to > Complete
* **Action Label**: Enter "Mark Complete"
* **Add Action > Change State to** > Open
* **Action Label**: Enter "Back to Open"
#### Create a User Action on the Sent to Partner State
Complete the following steps to create a user action on this state:
1. In the **States** section, select **Sent to Partner**.
2. On the **Sent to Partner** page, in the **User Actions** section, select **Edit**.
3. Select **Create Rule** and create the following rule:
* **Always > Allow the following actions** > Change State to > Complete
* **Action Label**: Enter "Mark Complete"
#### Create a User Action on the Open State
Complete the following steps to create a user action on this state:
1. In the **States** section, select **Open**.
2. On the **Open** page, in the **User Actions** section, select **Edit**.
3. Select **Create Rule** and create the following rule:
* **Perform with conditions > If** Contact Communication Method > equals > Email
* **Allow the following actions** > Distribute PVA Document(s)
* **Action Label**: Enter "Send Document(s) via Email"
#### Create User Actions on the Distribution Error State
Complete the following steps to create user actions on this state:
1. In the **States** section, select **Distribution Error**.
2. On the **Distribution Error** page, in the **User Actions** section, select **Edit**.
3. Select **Create Rule** and create the following rules:
**Rule 1: Retry Email Distribution**
* **Perform with conditions > If** Contact Communication Method > equals > Email
* **Allow the following actions** > Distribute PVA Document(s)
* **Action Label**: Enter "Retry Email Distribution"
**Rule 2: Mark Complete or Back to Open**
* **Always > Allow the following actions** > Change State to > Complete
* **Action Label**: Enter "Mark Complete"
* **Add Action > Change State to** > Open
* **Action Label**: Enter "Back to Open"
#### Create a User Action on the Sent to Partner State
Complete the following steps to create a user action on this state:
1. In the **States** section, select **Sent to Partner**.
2. On the **Sent to Partner** page, in the **User Actions** section, select **Edit**.
3. Select **Create Rule** and create the following rule:
* **Always > Allow the following actions** > Change State to > Complete
* **Action Label**: Enter "Mark Complete"