About the Feature
The Case Compare page was added in Vault Safety 21R3. This feature compares data from a previous Case version with the new Inbox Item being promoted.
Once you enable this feature, Inbox Item Follow-Up describes how to use this feature in detail and Configure the Inbox Item Follow-Up Case Compare Layout describes Case Compare administration options, such as adding fields and customizing the layout.
Additional capabilities to disable auto-calculation on the Case Compare page for Inbox Item promotion was added to Vault Safety in 22R3. See the (22R3) enablement instructions to perform this configuration.
Permission Sets
In the Admin area, go to the Users & Groups > Permission Sets page. In the Pages tab, enable the permission to View the Case Promotion Settings for the Administration Actions permission set.
Update Case Promotion Settings
You must enable the Follow-Up option on the Potential Matches page in order to access the Case Compare page.
- In the Admin area, go to Settings > Intake Settings.
- Select Edit.
- Select the Allow Follow-Up from Inbox Item checkbox.
- Save the page.
For more information about this page, see Configure Case Promotion Settings.
Update the Case Compare Followup Layout
- In the Admin area, go to the Configuration tab.
- Under User Interface, open Pages.
- Open Case Compare Page.
- Under Layouts, open Case Compare Followup (case_compare_followup__v).
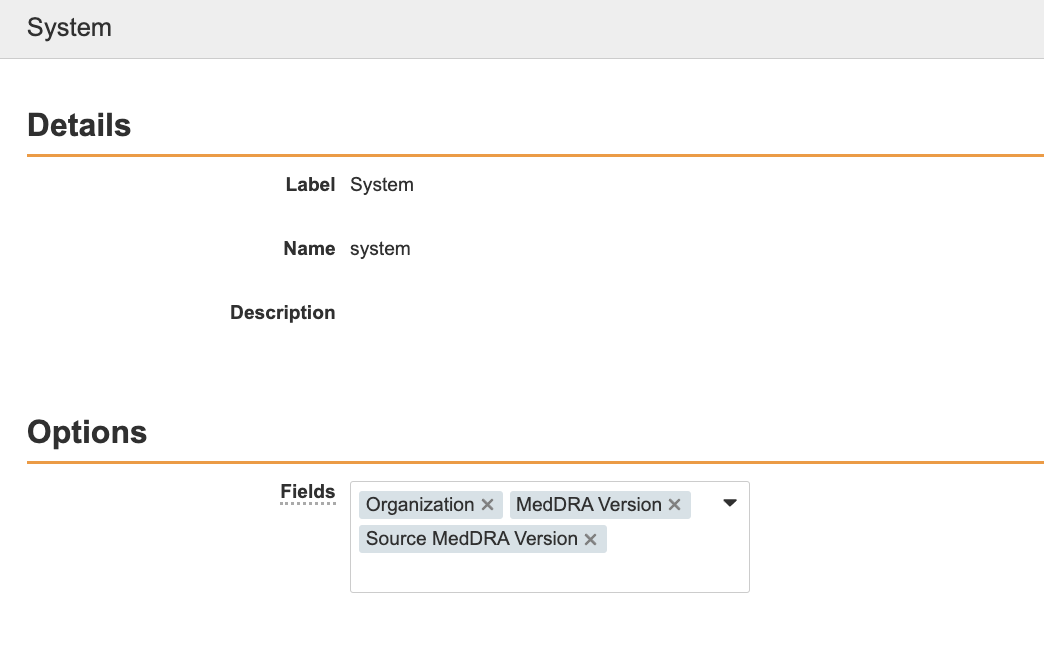
- Under Sections, select System.
- Select Source MedDRA Version from the Fields dropdown menu.
- Save the page.
(22R3) Add Auto-Calculation Options Field to Transmission Profile Page Layouts
Perform the following steps to add the Auto-Calculation Options field to the following Transmission Profile page layouts:
- AS2
- Connection
- Partner Exchange
- Go to Configuration > Objects > Transmission Profile > Page Layouts > [page layout].
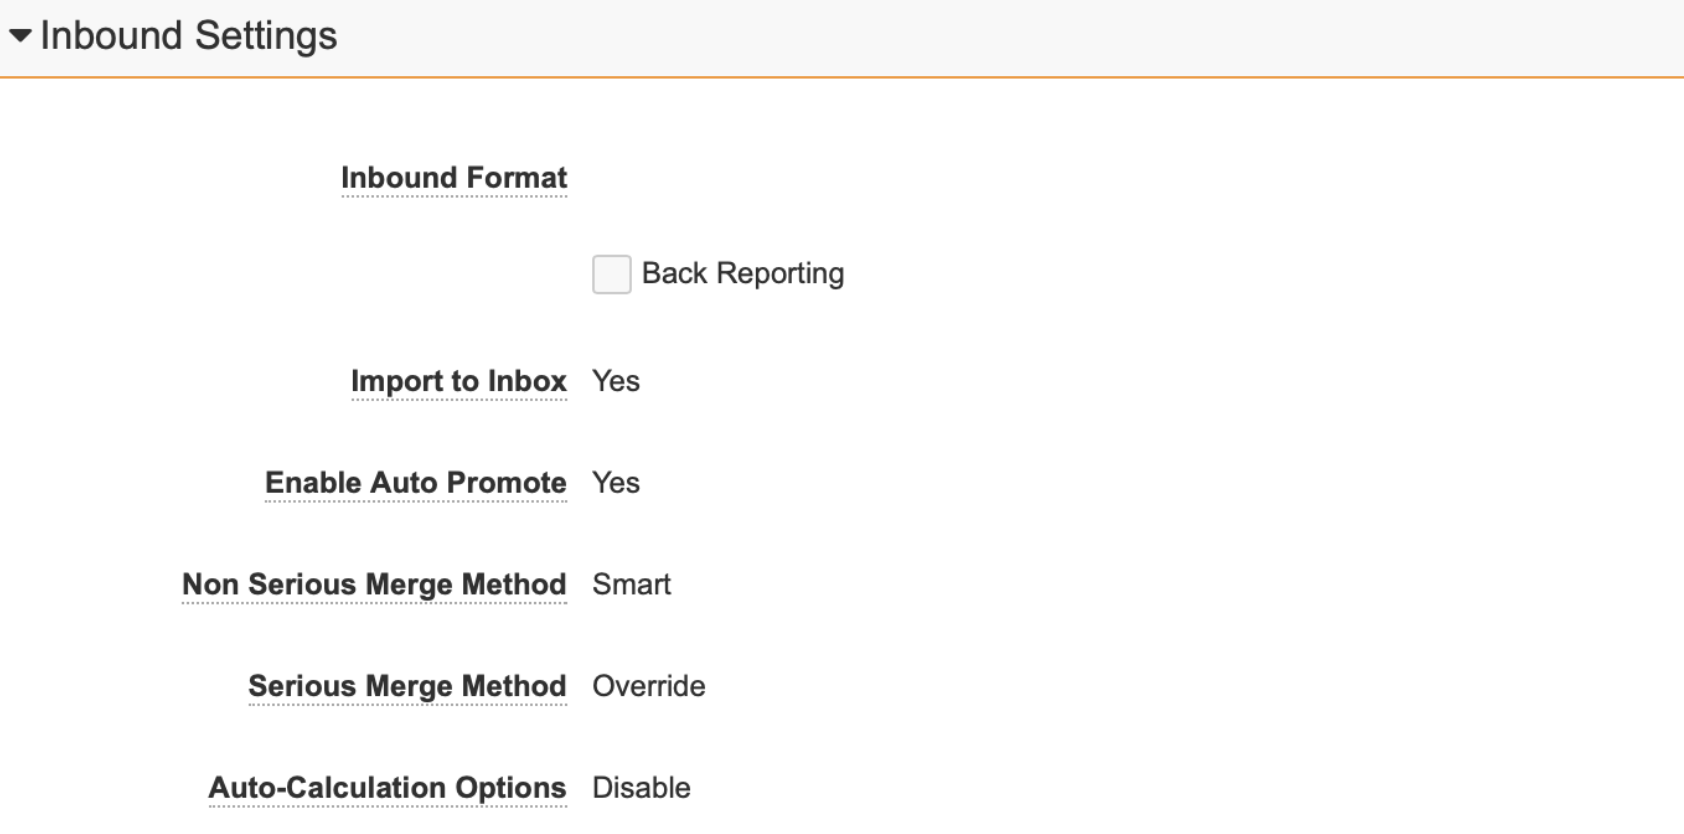
- Add the Auto-Calculation Options field to the Inbound Settings section.
- Save the page and repeat for the other specified page layouts.
(22R3) Disable Auto-Calculations
You can disable the auto-calculations that occur during Case promotion of an Inbox Item. Disable this for any system gateway as required:
- For applicable Transmission Profiles, expand the Inbound Settings section.
- In the Auto-Calculation Options field, select Disable.
- Save the page.