About the Feature
Support for Localized Submissions was first added in 20R3. Vaults originally deployed in 20R3 or later include some of the required configurations by default.
However, additional changes to the Vault Safety template were introduced in 21R2 to address data model issues with localized objects introduced in 20R3. Throughout this article, sections are prepended with (21R2) to identify configuration added in 21R2.
Vaults deployed from 21R2 and later already have the necessary configuration for this feature.
(Optional) Navigation
Optionally, add a Localized Cases navigation tab.
| Checklist | Tasks |
|---|---|
|
Object Configuration
The following configurations are required for enabling localized submissions.
Localized Country
| Checklist | Tasks |
|---|---|
|
|
|
Localized Organization
| Checklist | Tasks |
|---|---|
|
|
|
|
|
Localized Controlled Vocabulary
| Checklist | Tasks |
|---|---|
|
Localized Dose Form
| Checklist | Tasks |
|---|---|
|
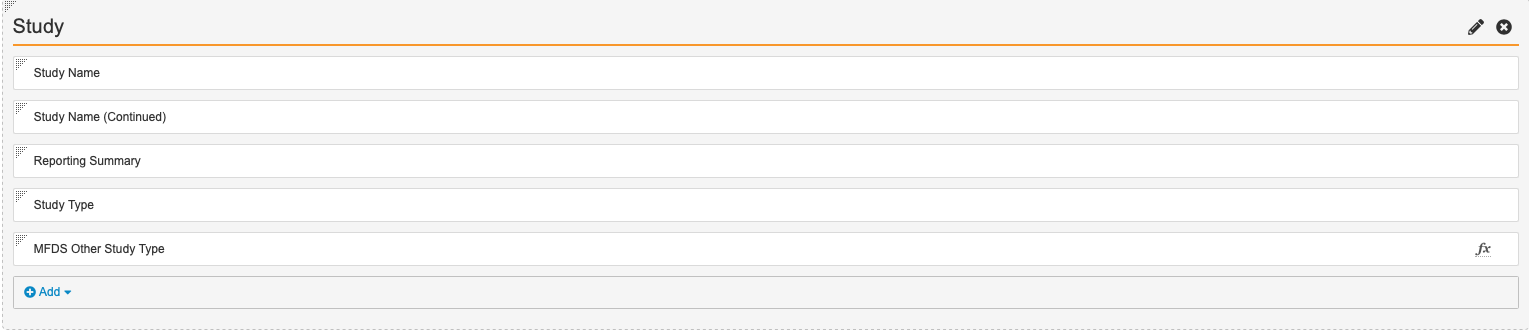
Localized Study
| Checklist | Tasks |
|---|---|
|
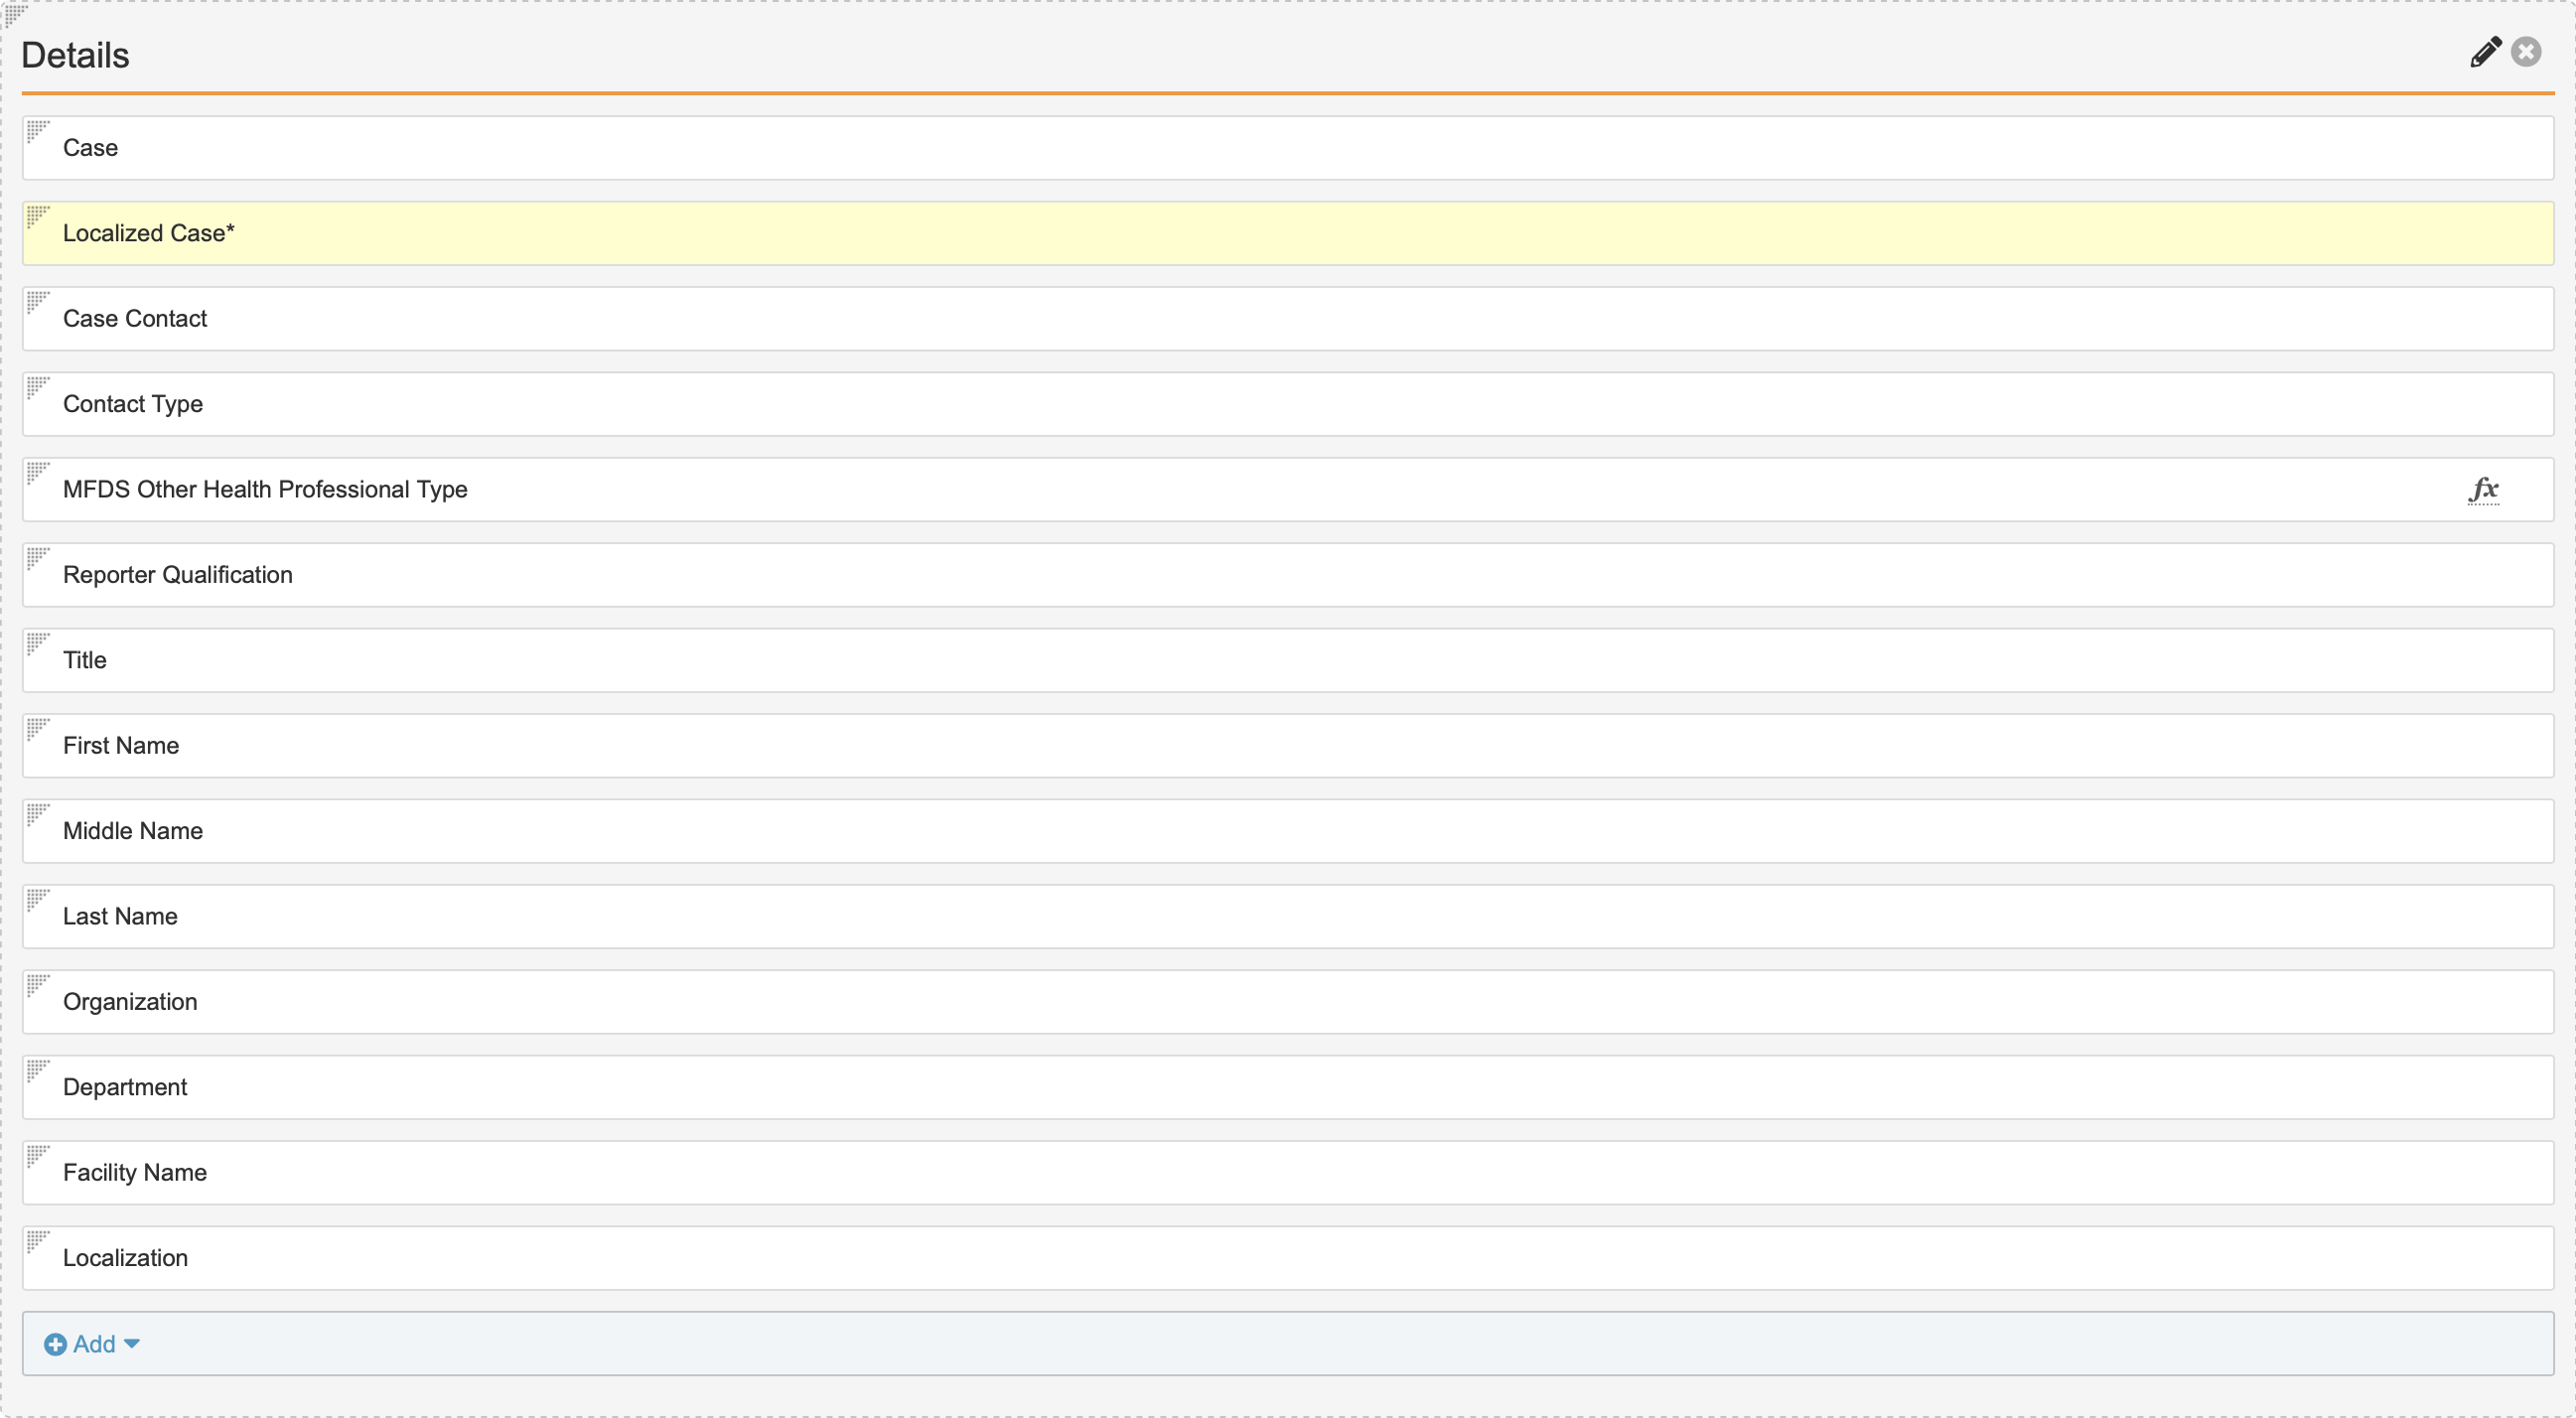
(21R2) Localized Case Contact
| Checklist | Tasks |
|---|---|
|
|
|
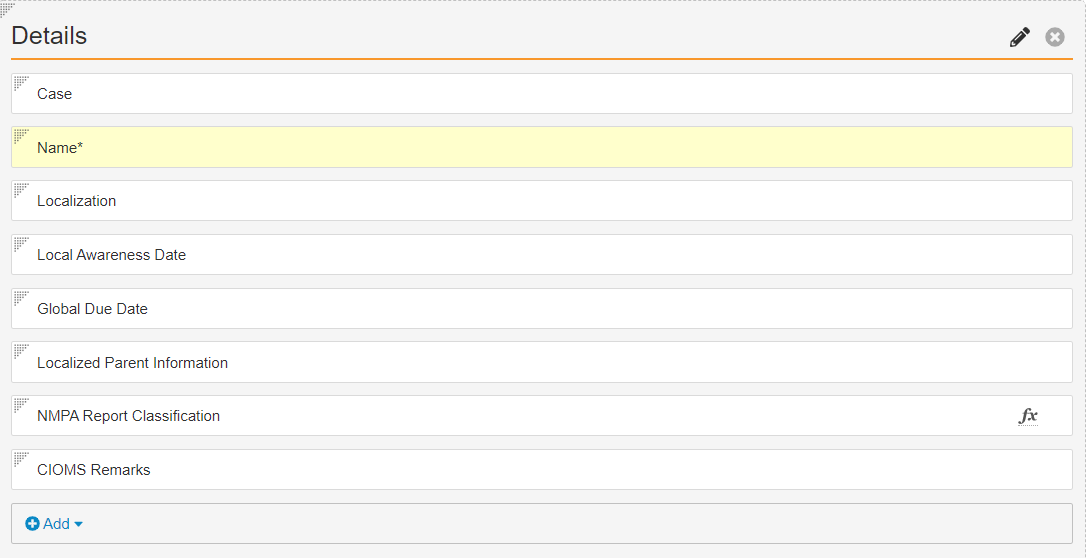
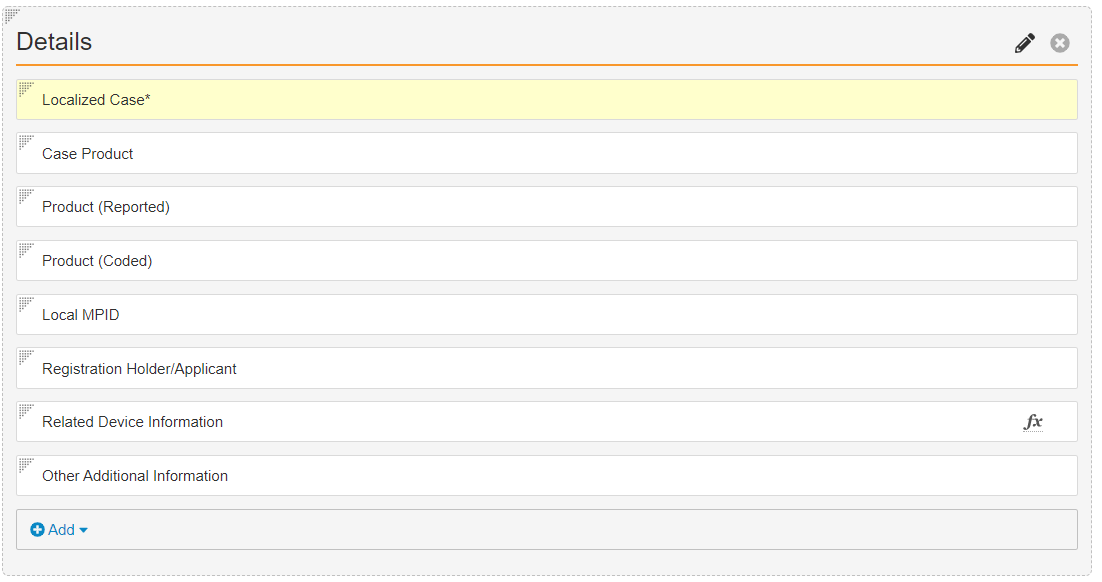
(21R2) Case
| Checklist | Tasks |
|---|---|
|
Localized Case
| Checklist | Tasks |
|---|---|
|
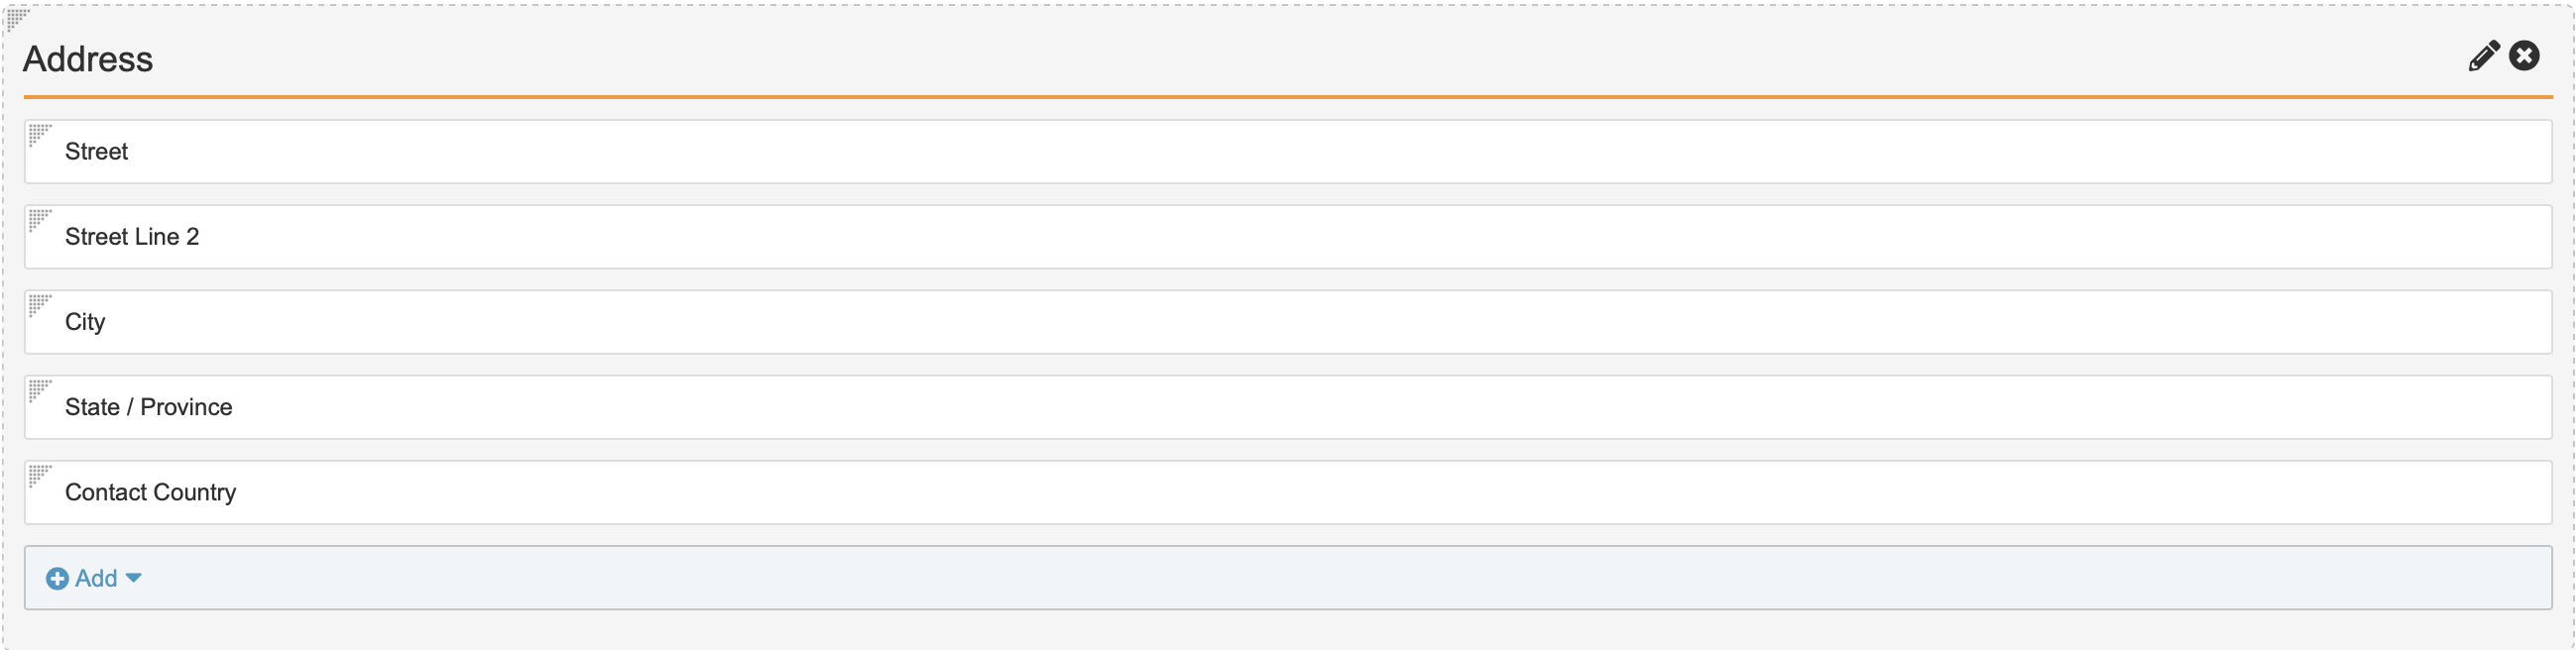
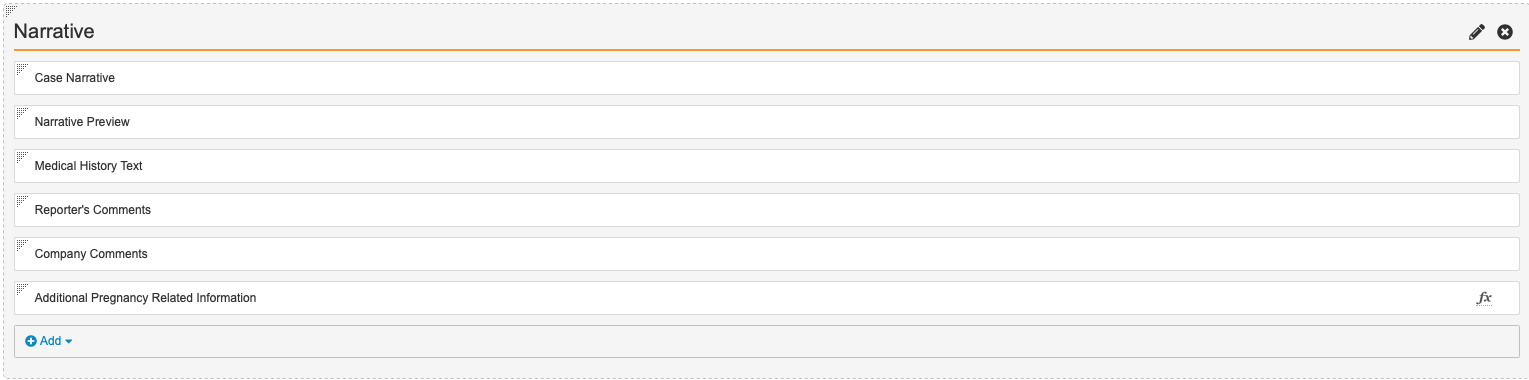
(21R2) Configure the Localized Case Page Layout
Go to Configuration > Objects > Localized Case > Page Layouts and configure the Localized Case Detail Page Layout. Expand the following sections for detailed instructions for each section on the page layout:
| Checklist | Tasks | ||||||||||
|---|---|---|---|---|---|---|---|---|---|---|---|
|
|||||||||||
|
|||||||||||
|
|||||||||||
|
|||||||||||
|
|||||||||||
|
|||||||||||
|
|||||||||||
|
|||||||||||
|
|||||||||||
|
|||||||||||
|
|||||||||||
|
|||||||||||
|
|||||||||||
|
|||||||||||
|
|||||||||||
|


(21R2) Localized Case Product
In Admin, go to Configuration > Objects > Localized Case Product > Page Layout > Localized Case Product Detail Page Layout and configure the following sections on the page layout.
| Checklist | Tasks | ||||||||||
|---|---|---|---|---|---|---|---|---|---|---|---|
|
|||||||||||
|
|||||||||||
|
|||||||||||
|


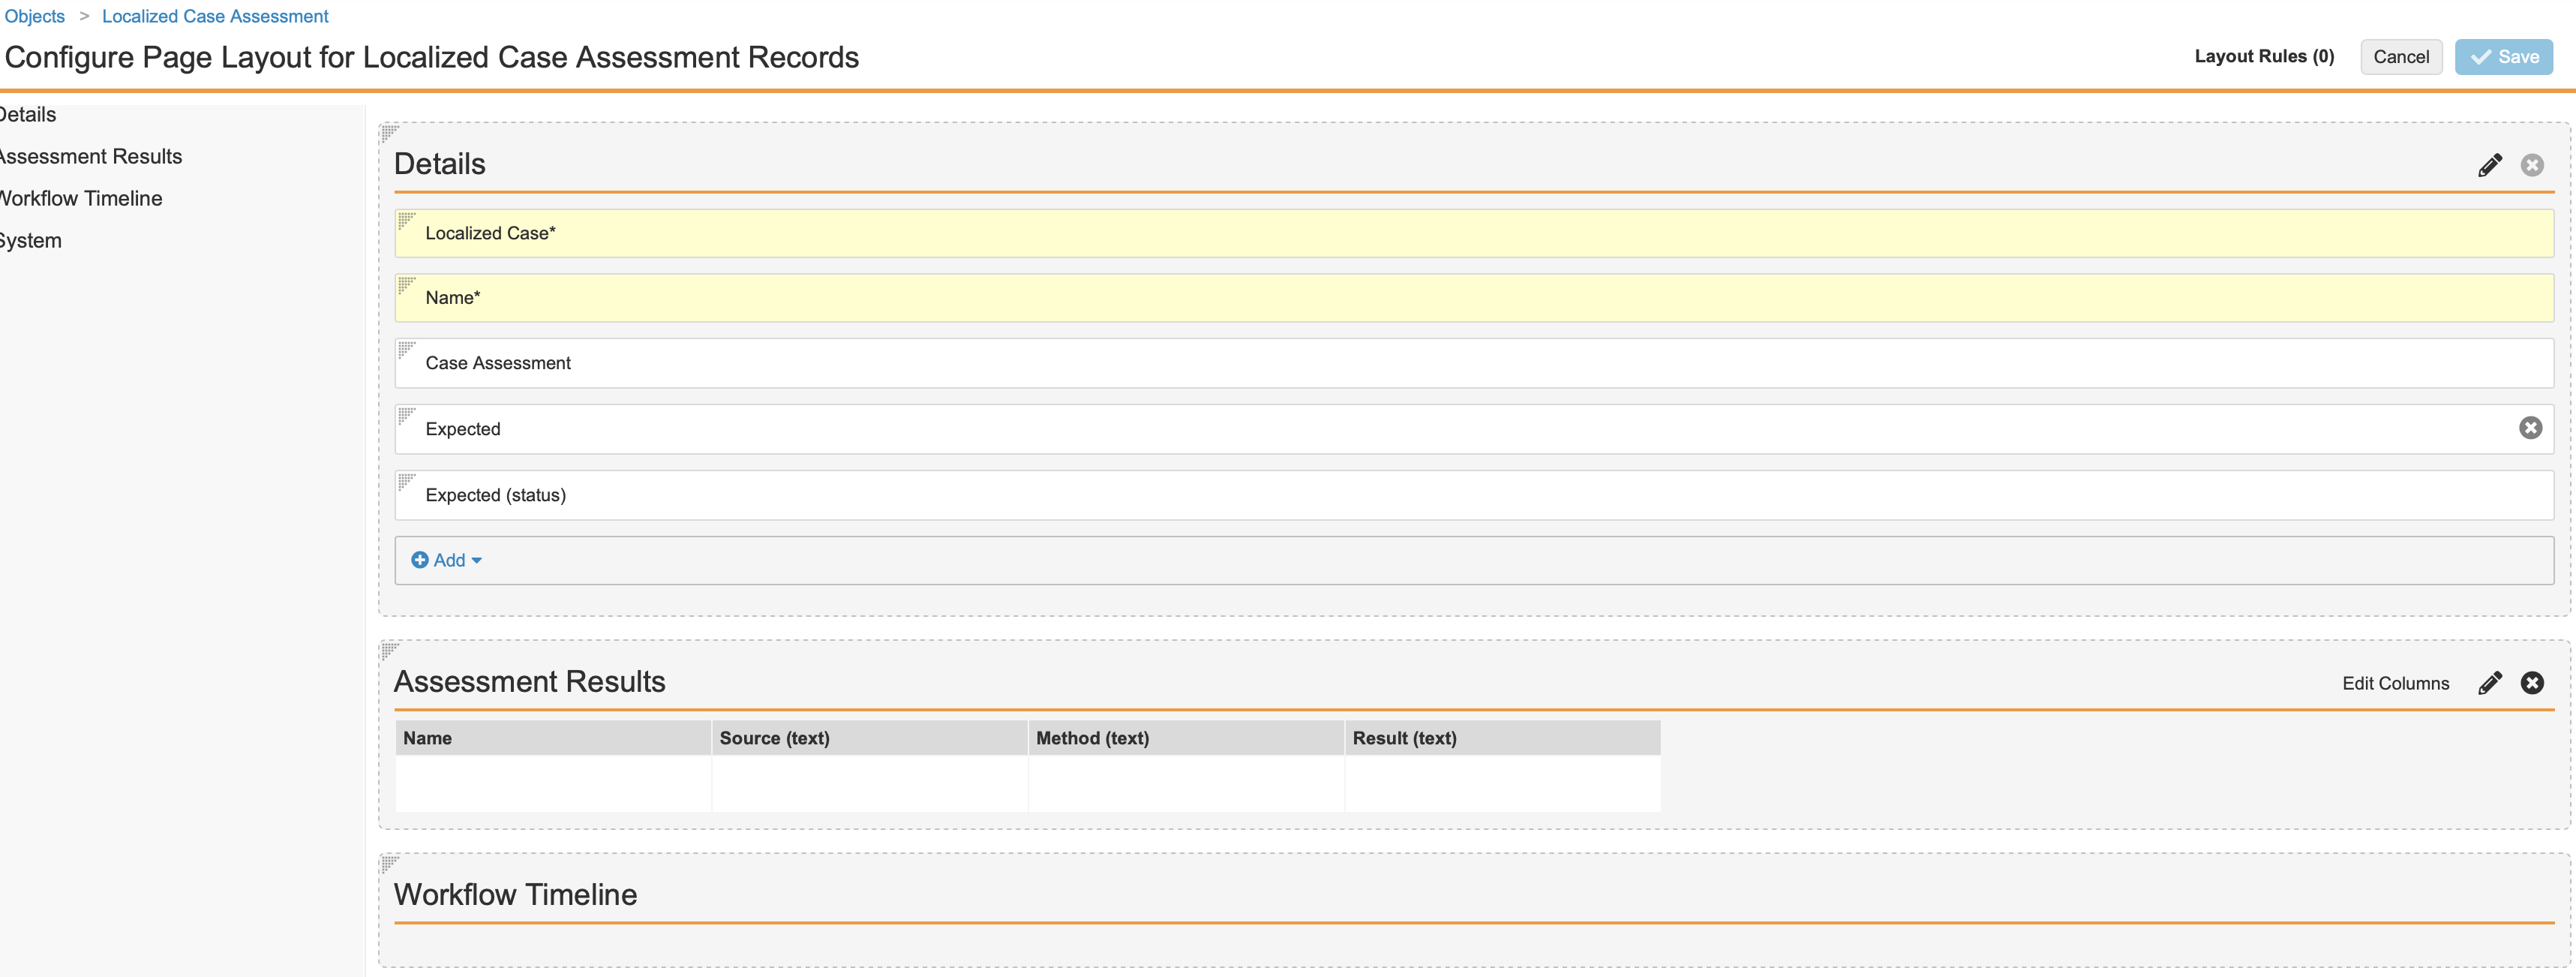
(21R2) Localized Case Assessment
| Checklist | Tasks |
|---|---|
|
(21R2) Transmission
We recommend that you configure the Transmission object by adding the Localization lookup field to the object and adding the Hide Localized Case layout rule to the Transmission page layout.
| Checklist | Tasks |
|---|---|
|
|
|

(21R2) Case Product Registration
| Checklist | Tasks |
|---|---|
|
(21R2) All Localized Objects (Non-Case)
If your Vault’s localization object details page layout has a system-related field in the Details section and it is NOT a Case child-object, add the System Information section and move those fields to that section.
Verify this configuration is done on the following objects:
- Localization
- Localized Controlled Vocabulary
- Localized Country
- Localized Dose Form
- Localized Organization
- Localized Product
- Localized Route of Administration
- Localized Study
- Localized Substance
- Localized Transmission
- Localized Unit of Measurement
| Checklist | Tasks |
|---|---|
|
|
|
(21R2) All Localized Case Child-Objects
Certain Localized Case child object page layouts may contain system-related fields in the Details section.
Verify this configuration is done on the following objects:
- Localized Case Cause of Death
- Localized Case Contact
- Localized Case Identifier
- Localized Case Product Substance
| Checklist | Tasks |
|---|---|
|
|
|
Object Lifecycles and Workflows
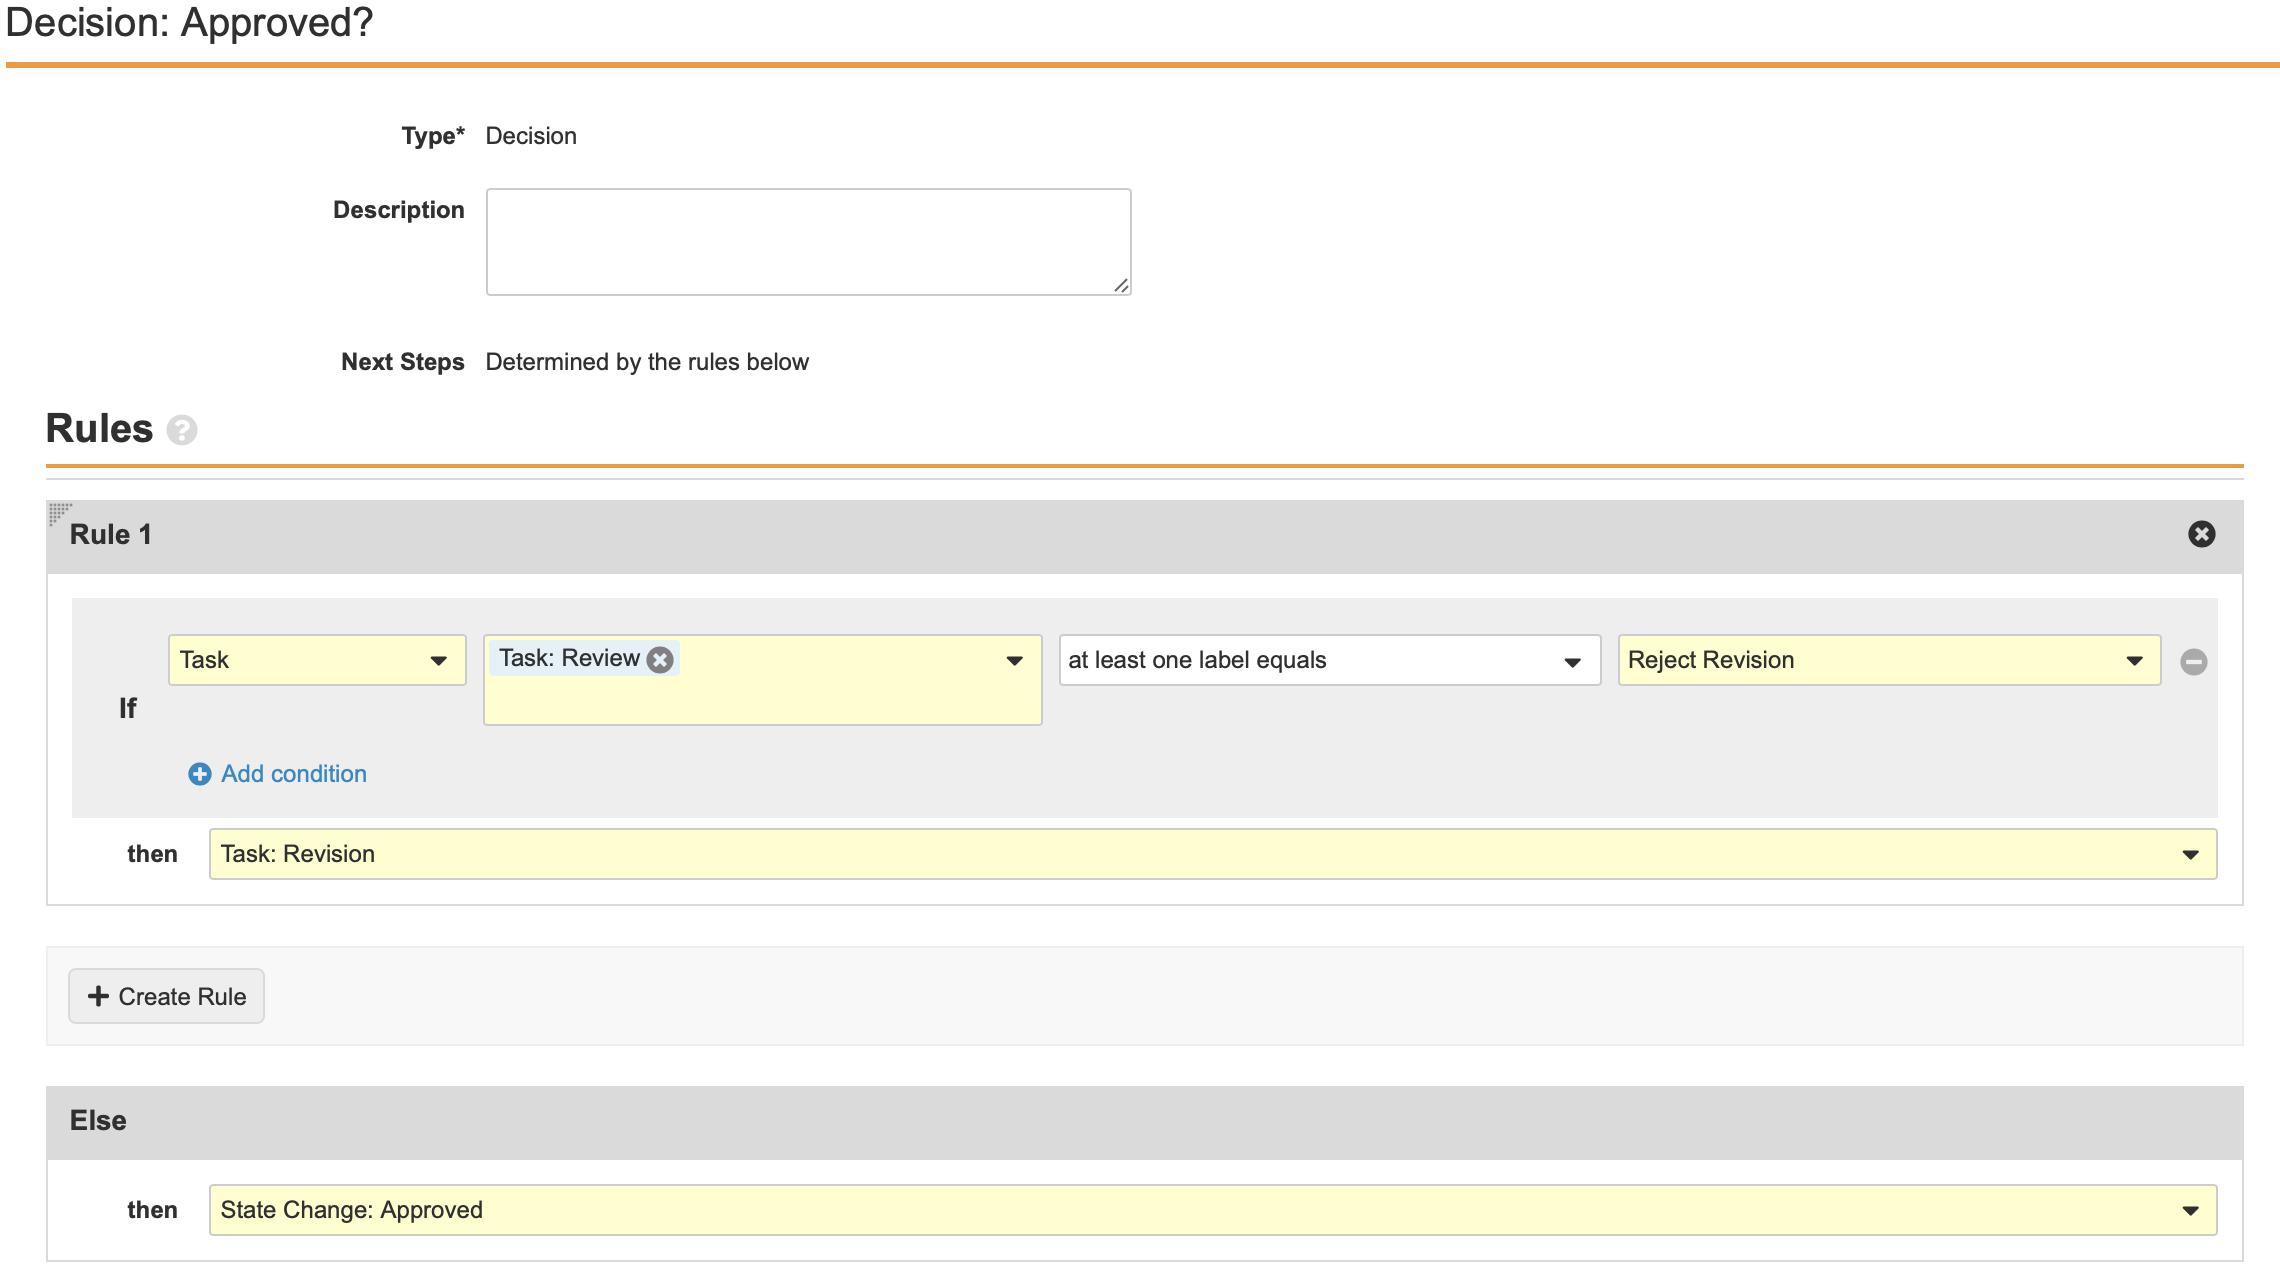
(21R2) Updates to Approved State in Localized Case Lifecycle
| Checklist | Tasks |
|---|---|
|
|
|
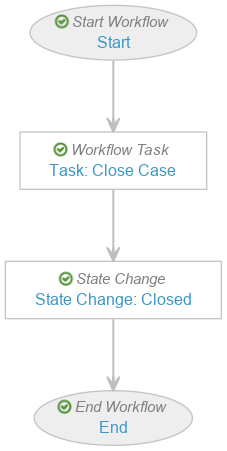
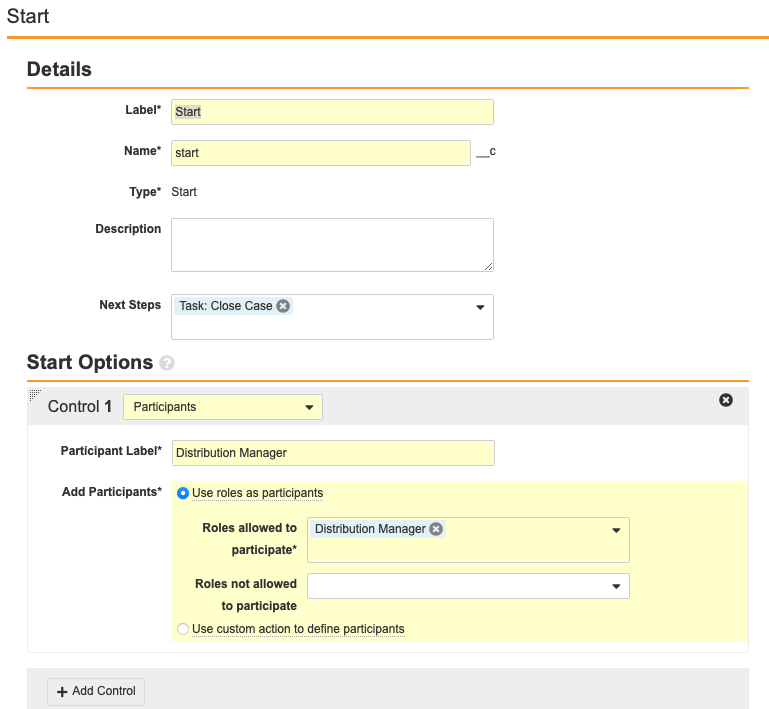
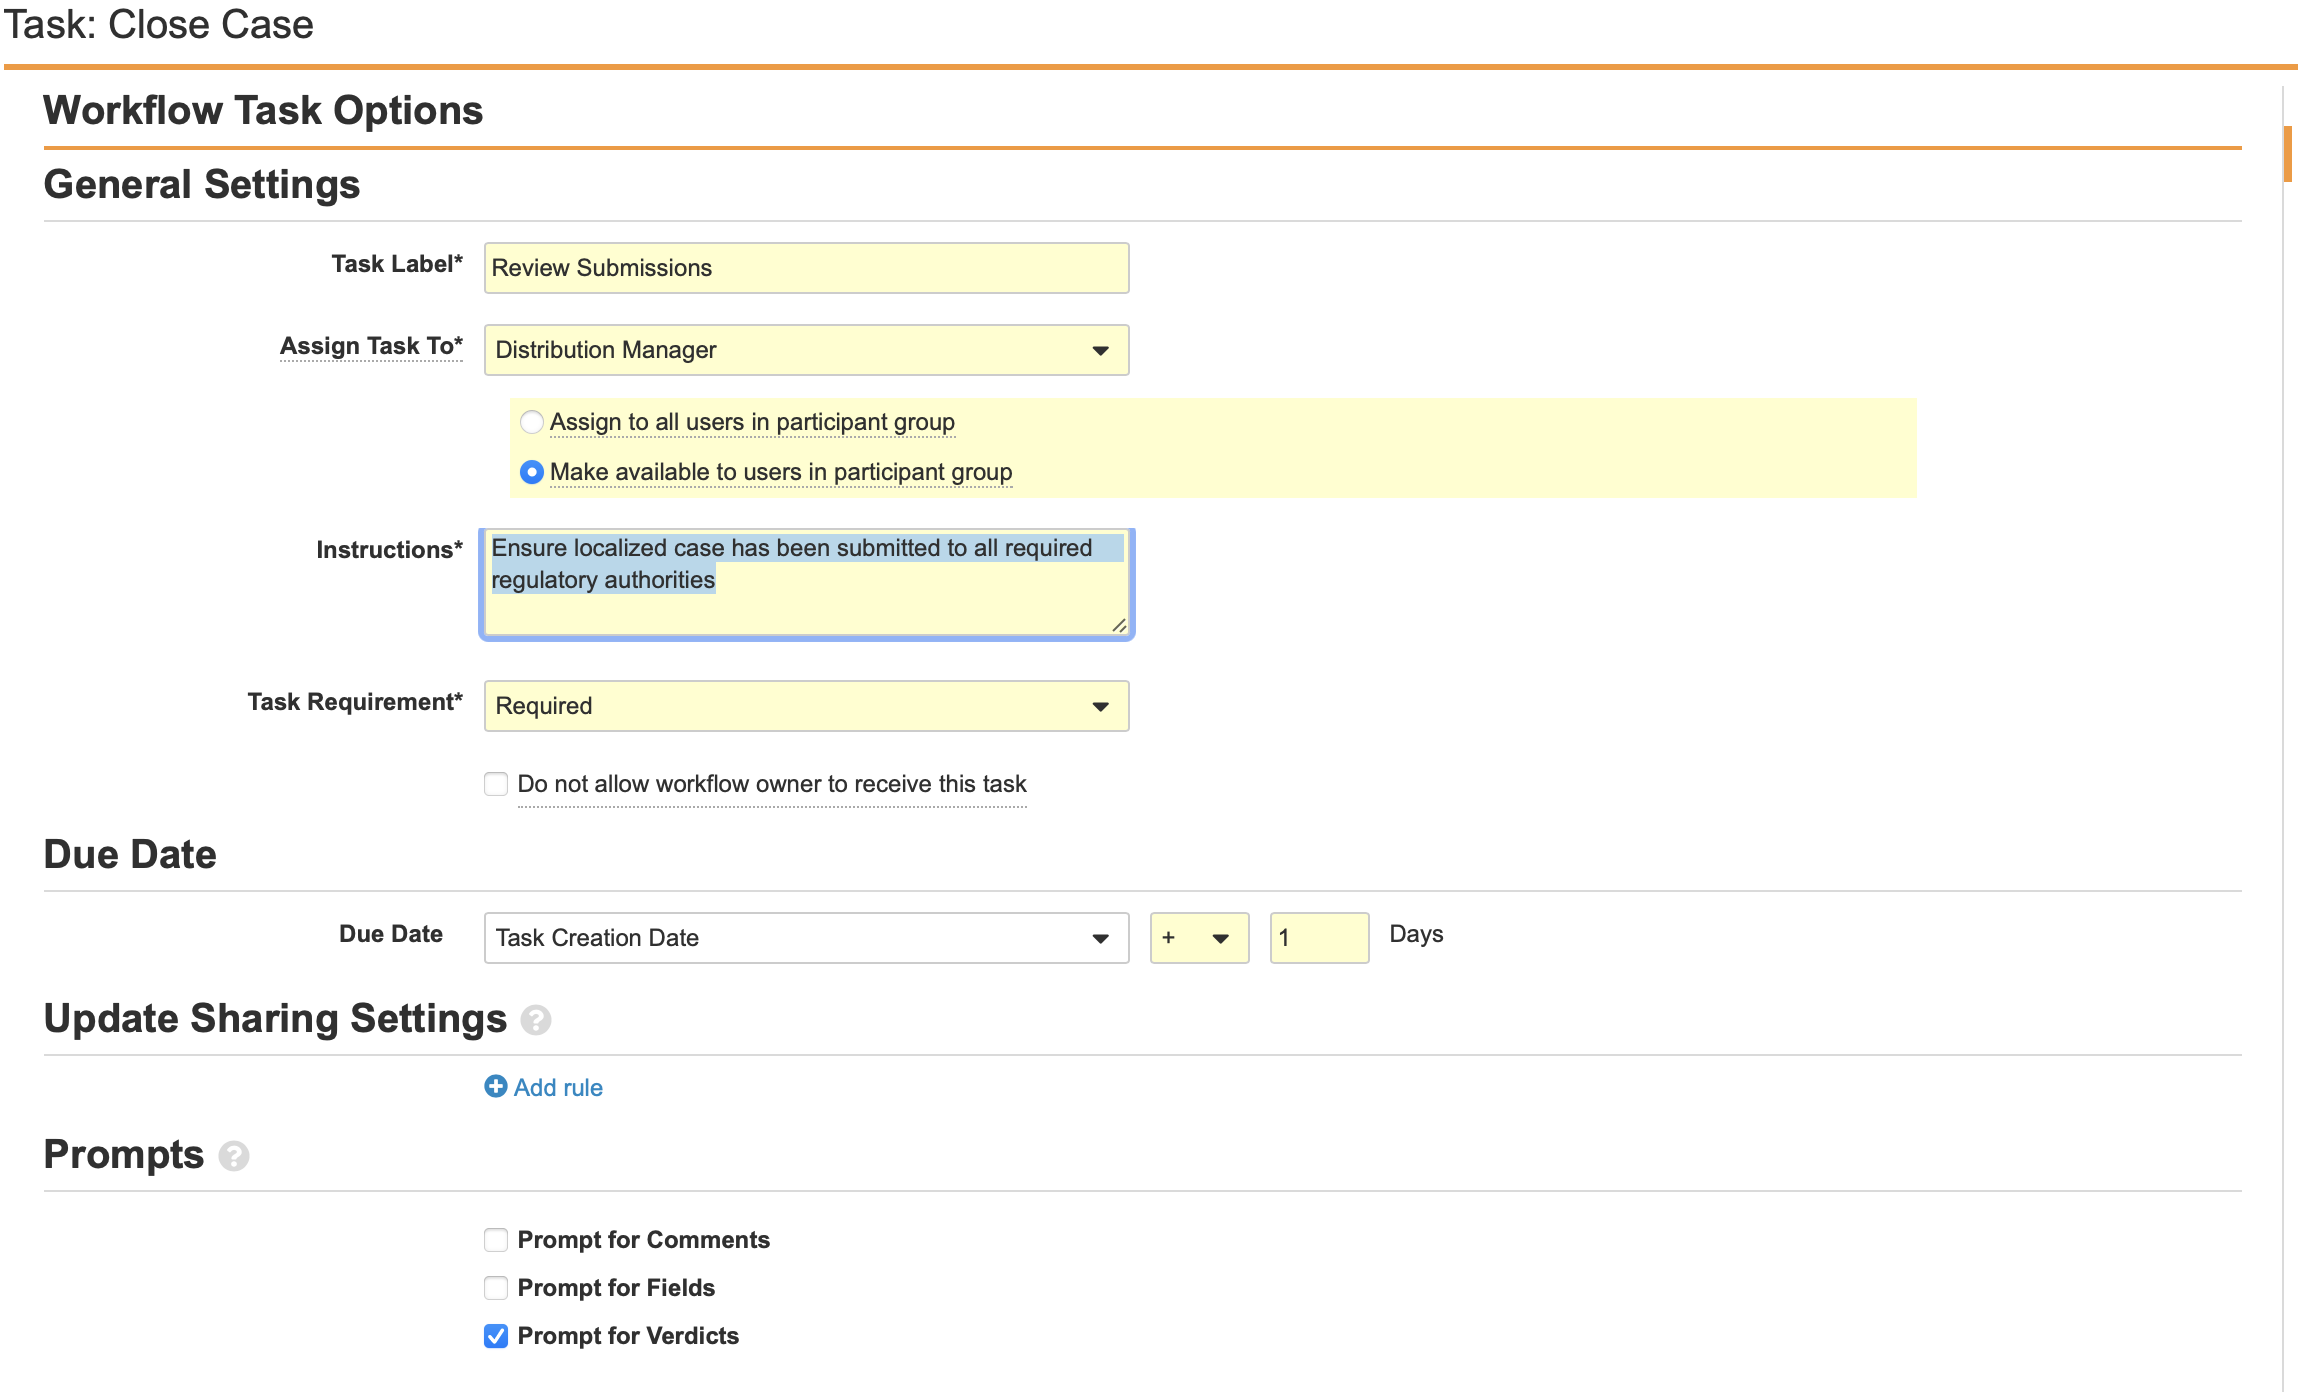
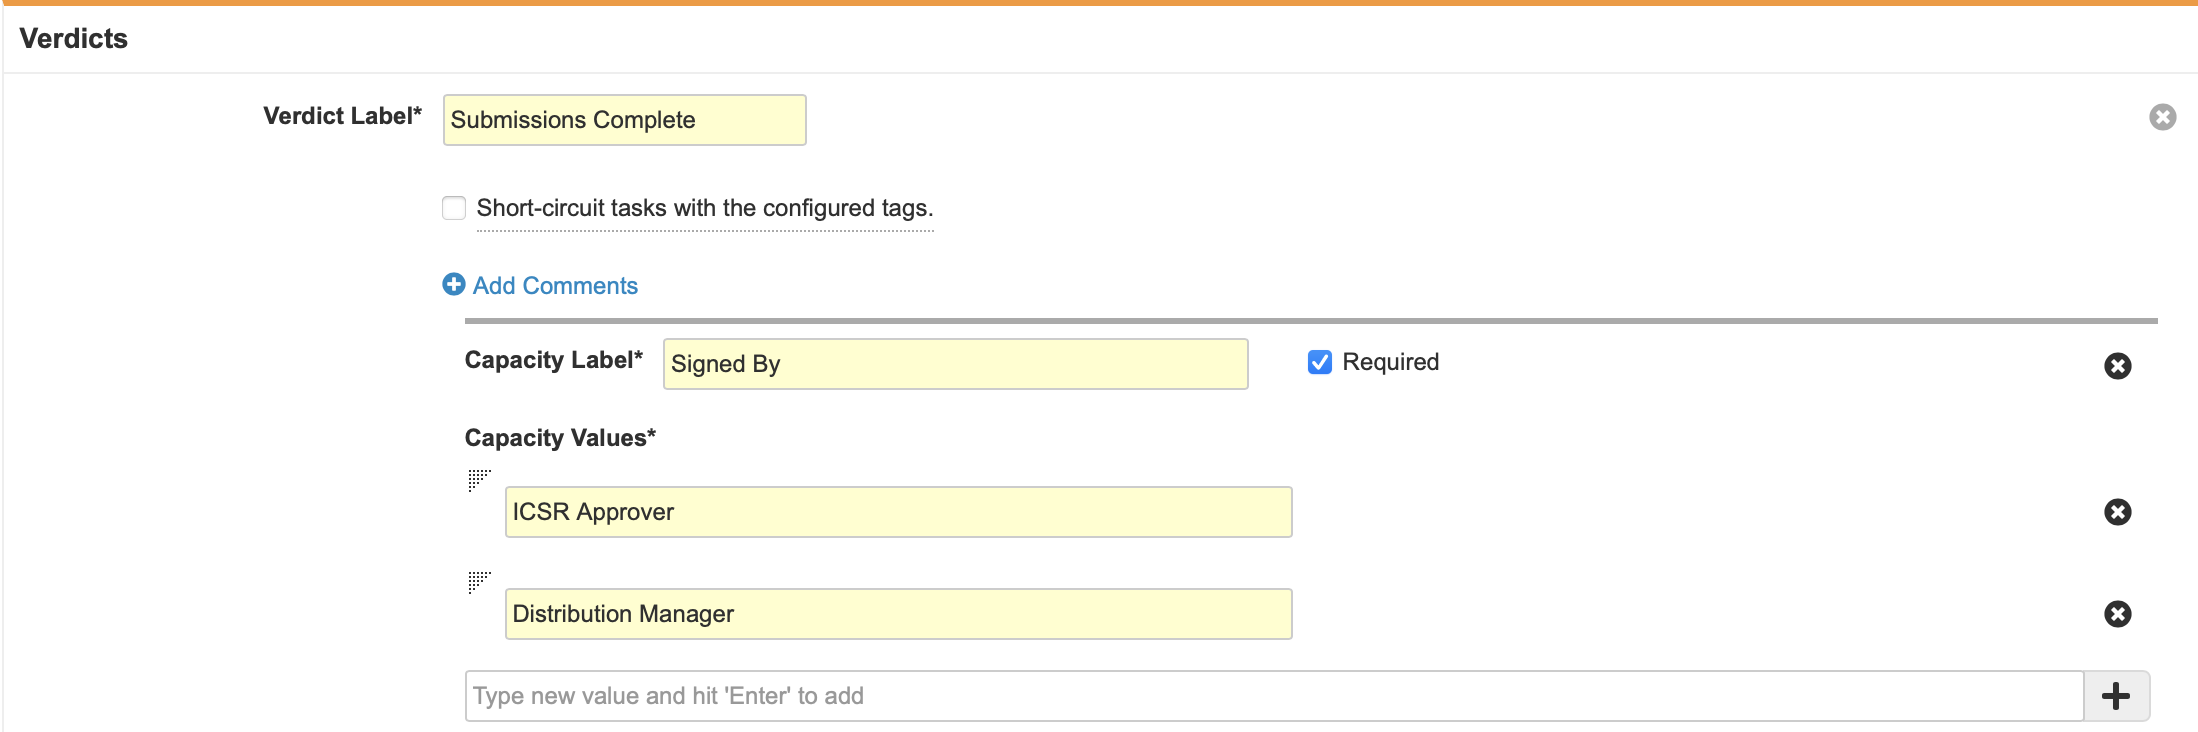
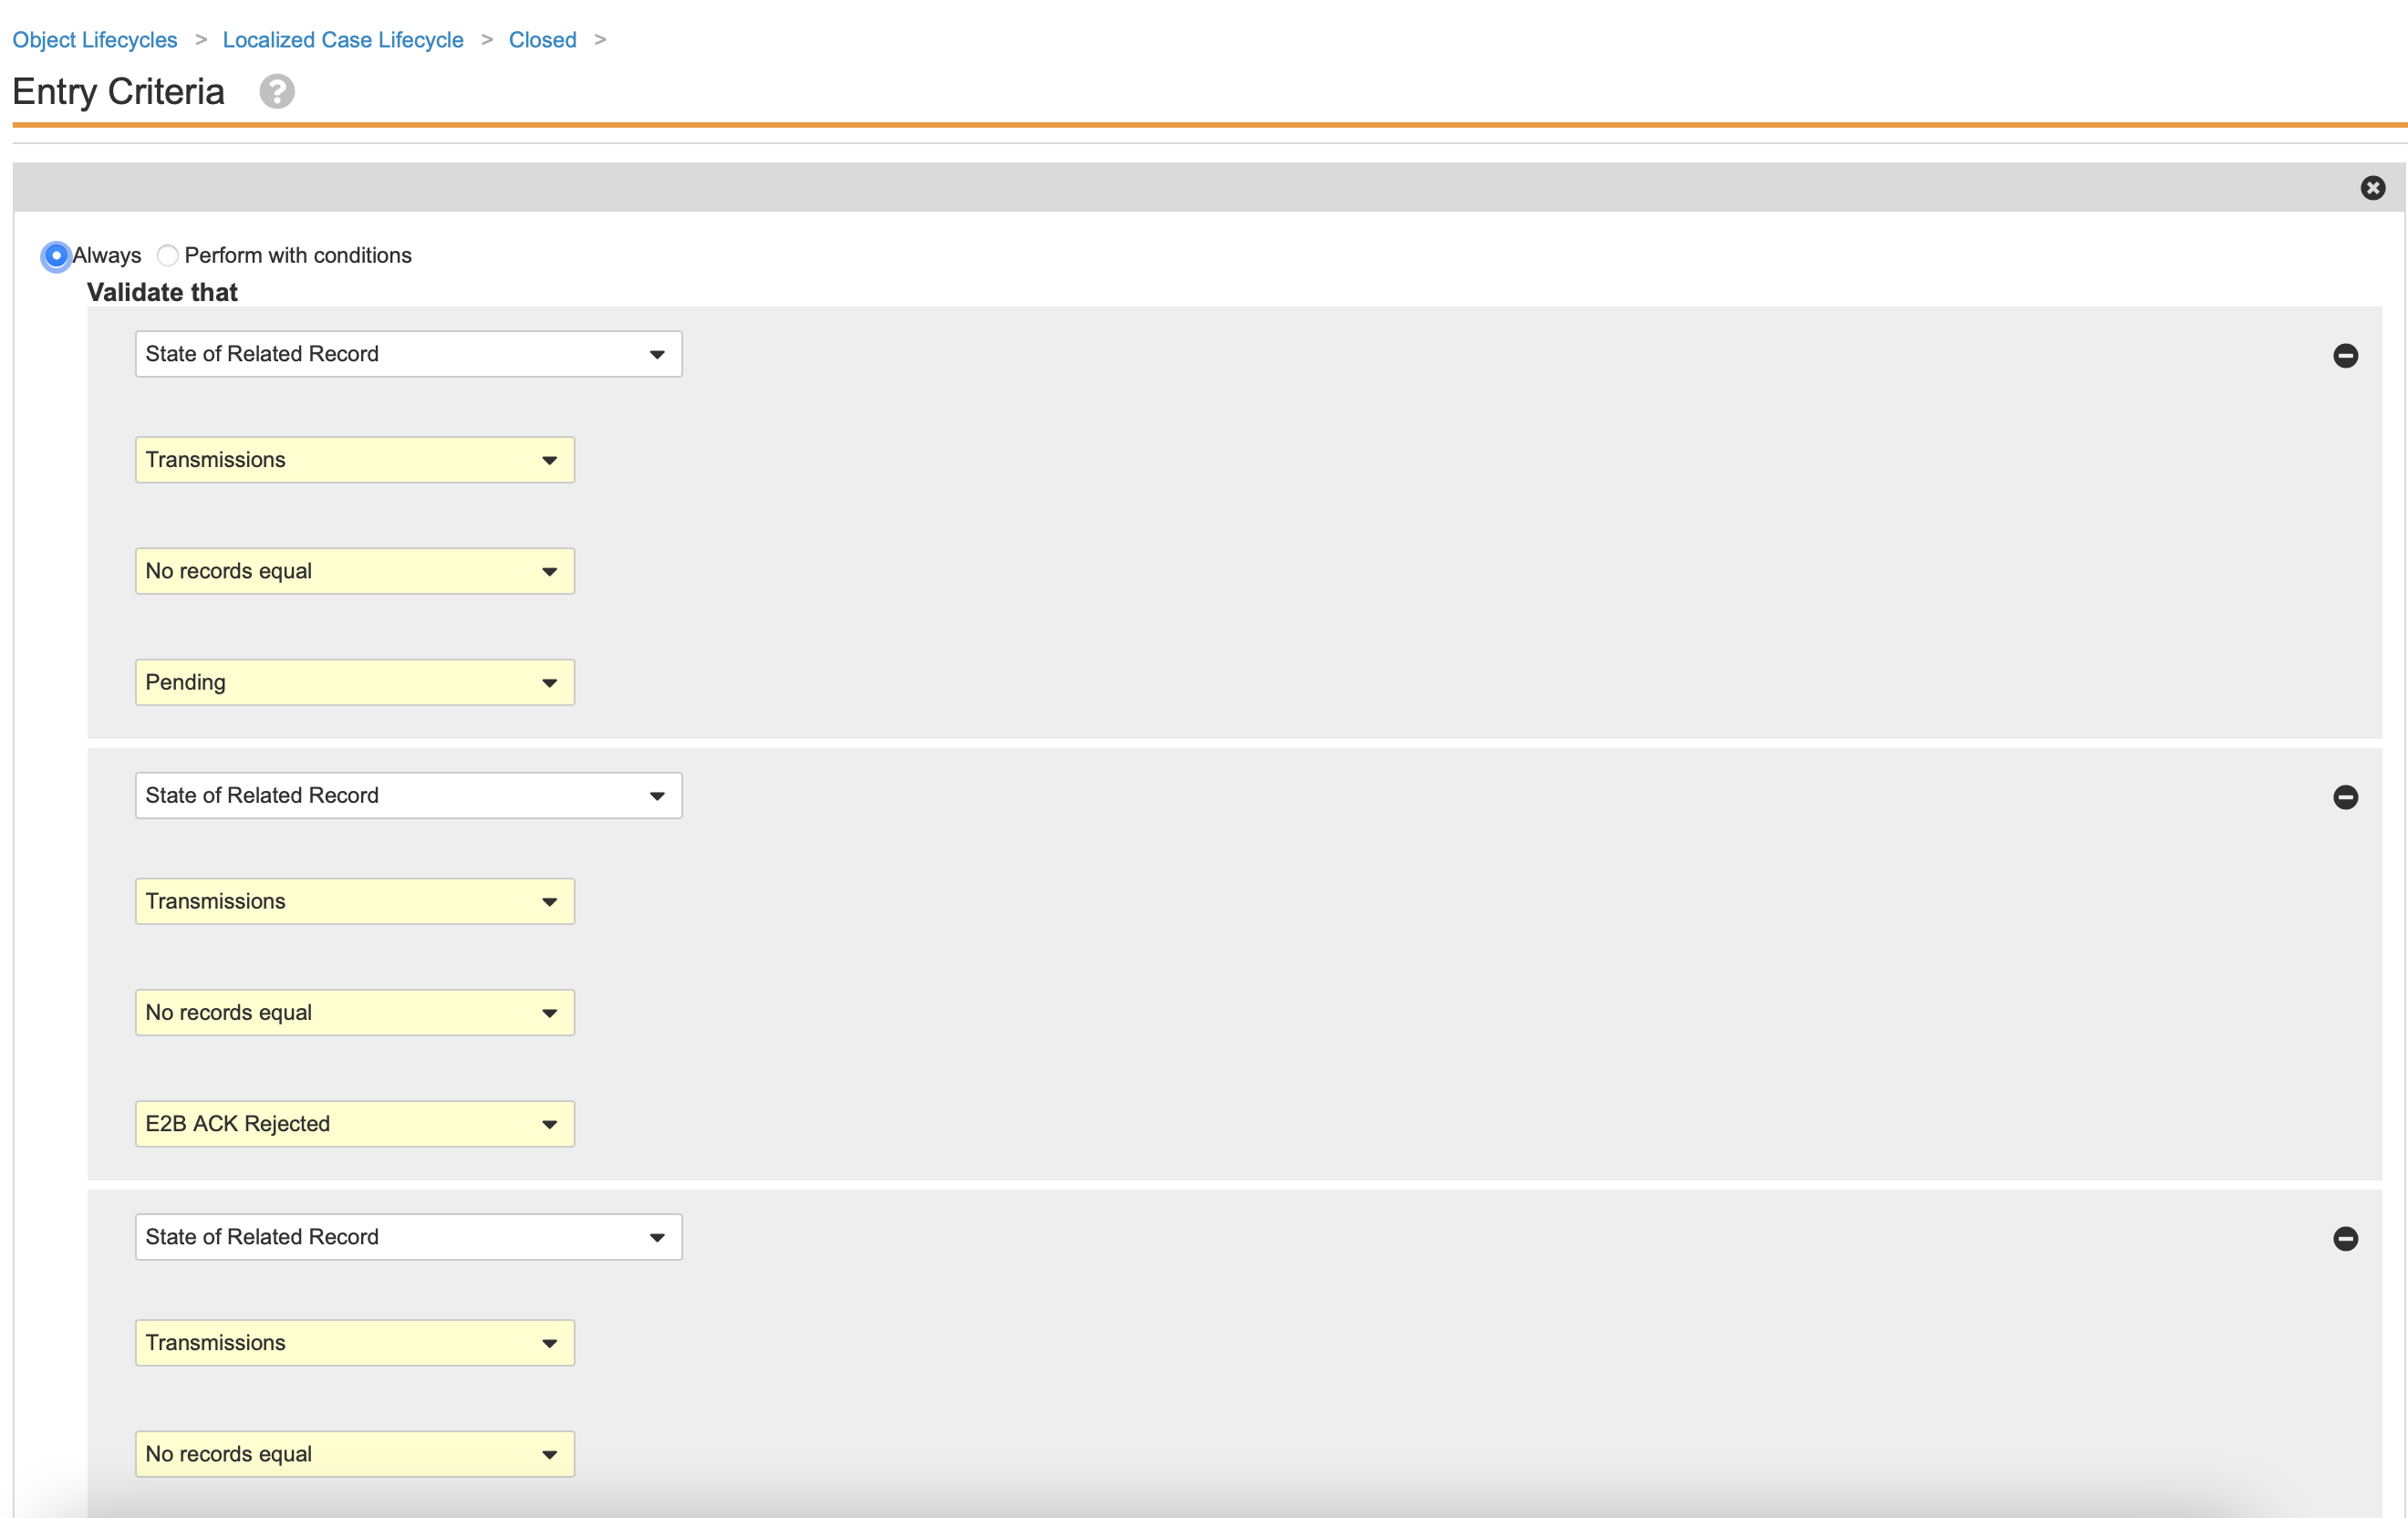
(21R2) Configure the Localized Case Close Workflow
| Checklist | Tasks |
|---|---|
|
|
|
|
|
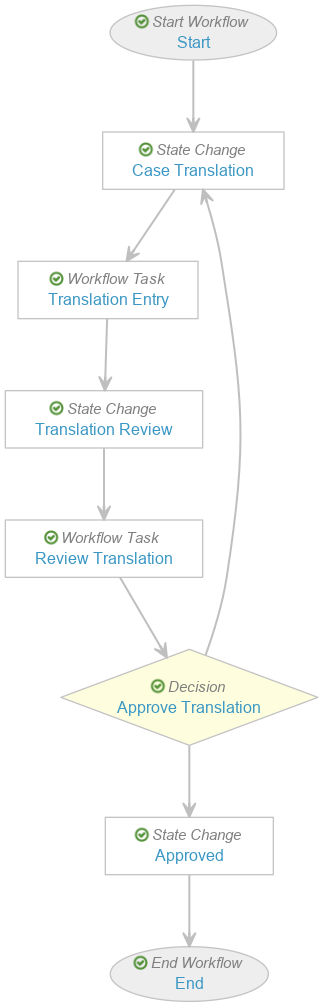
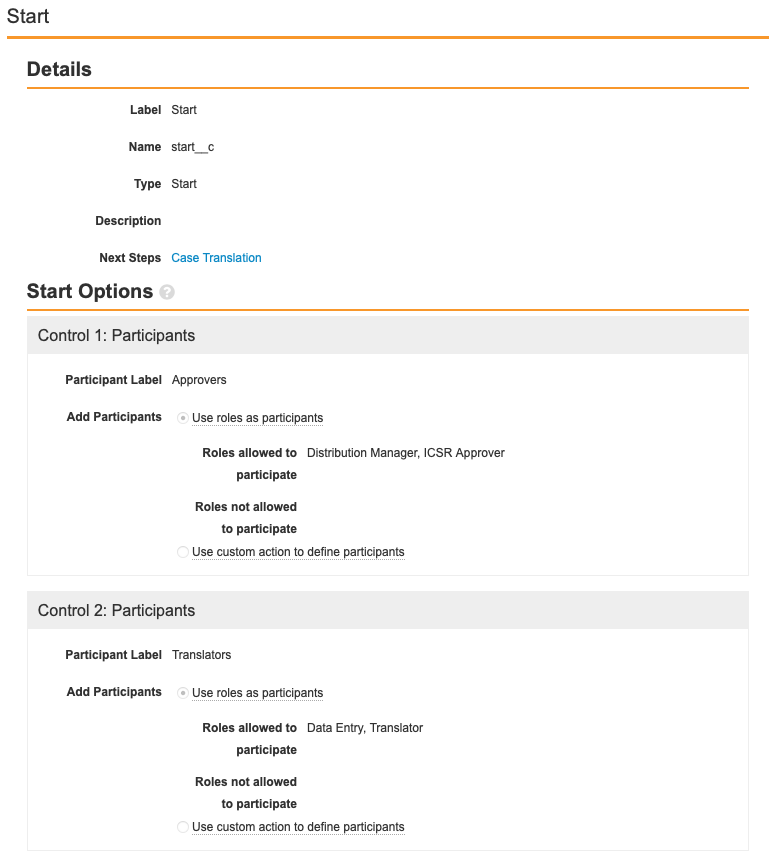
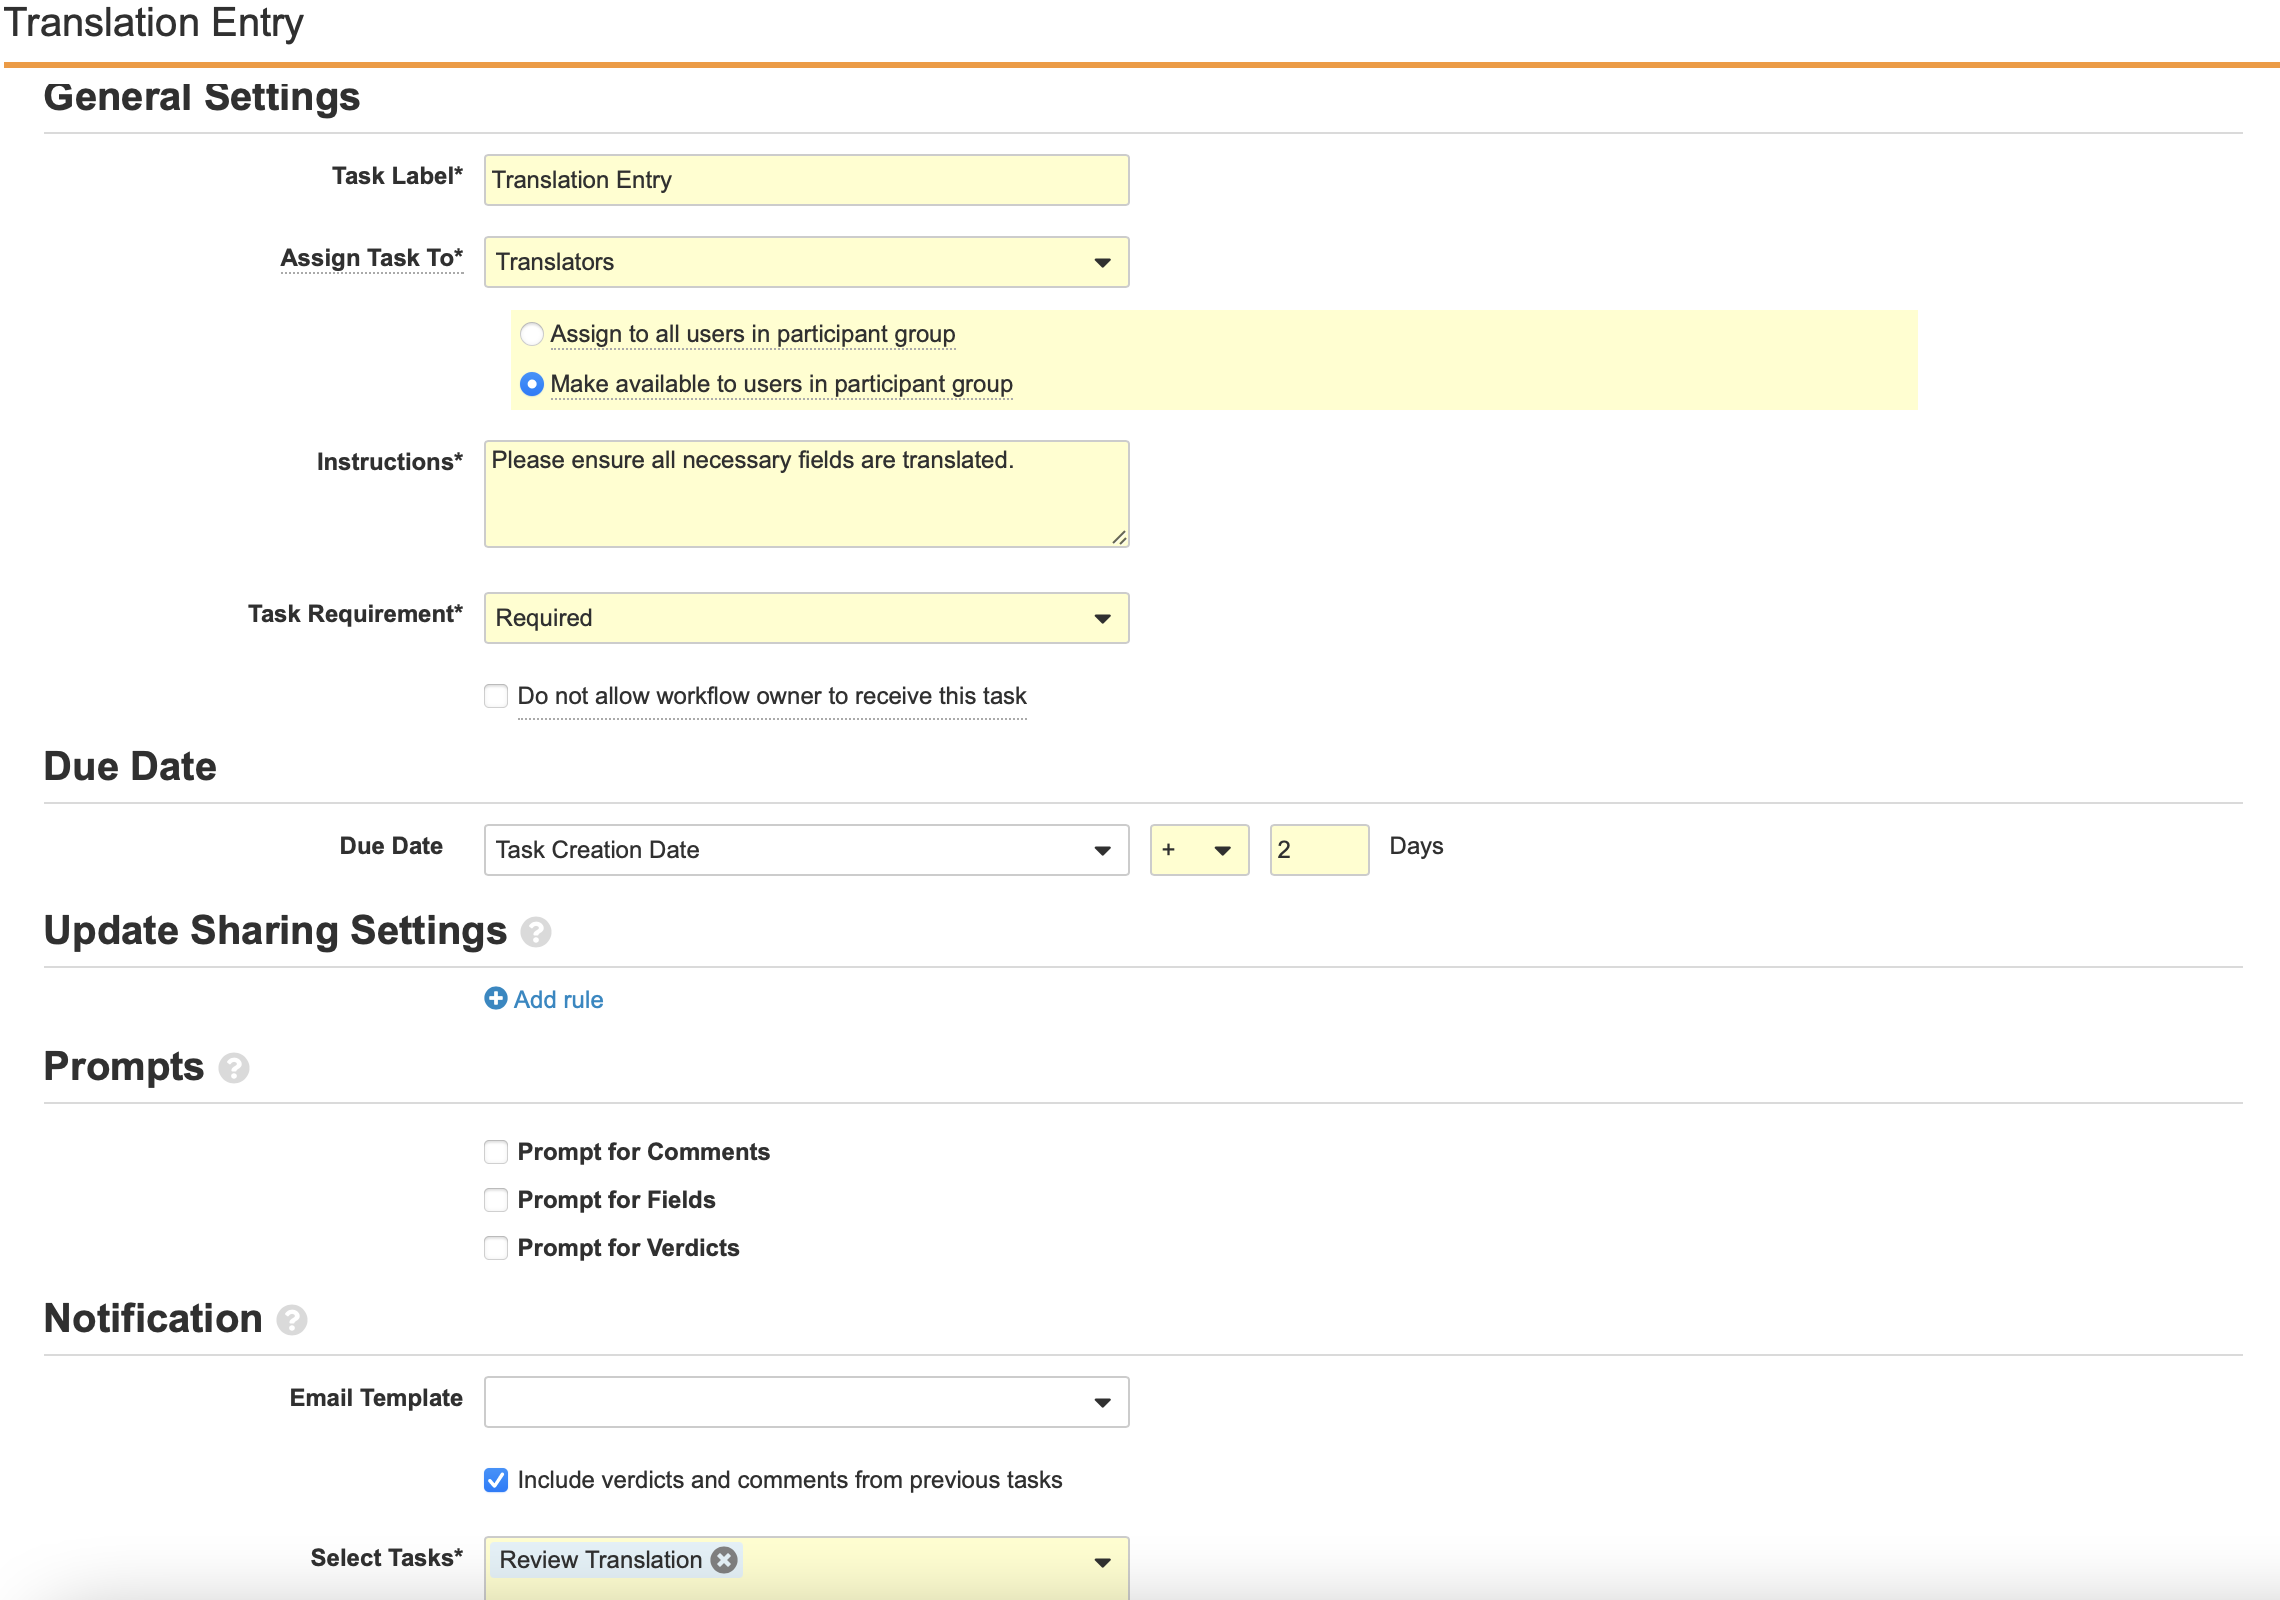
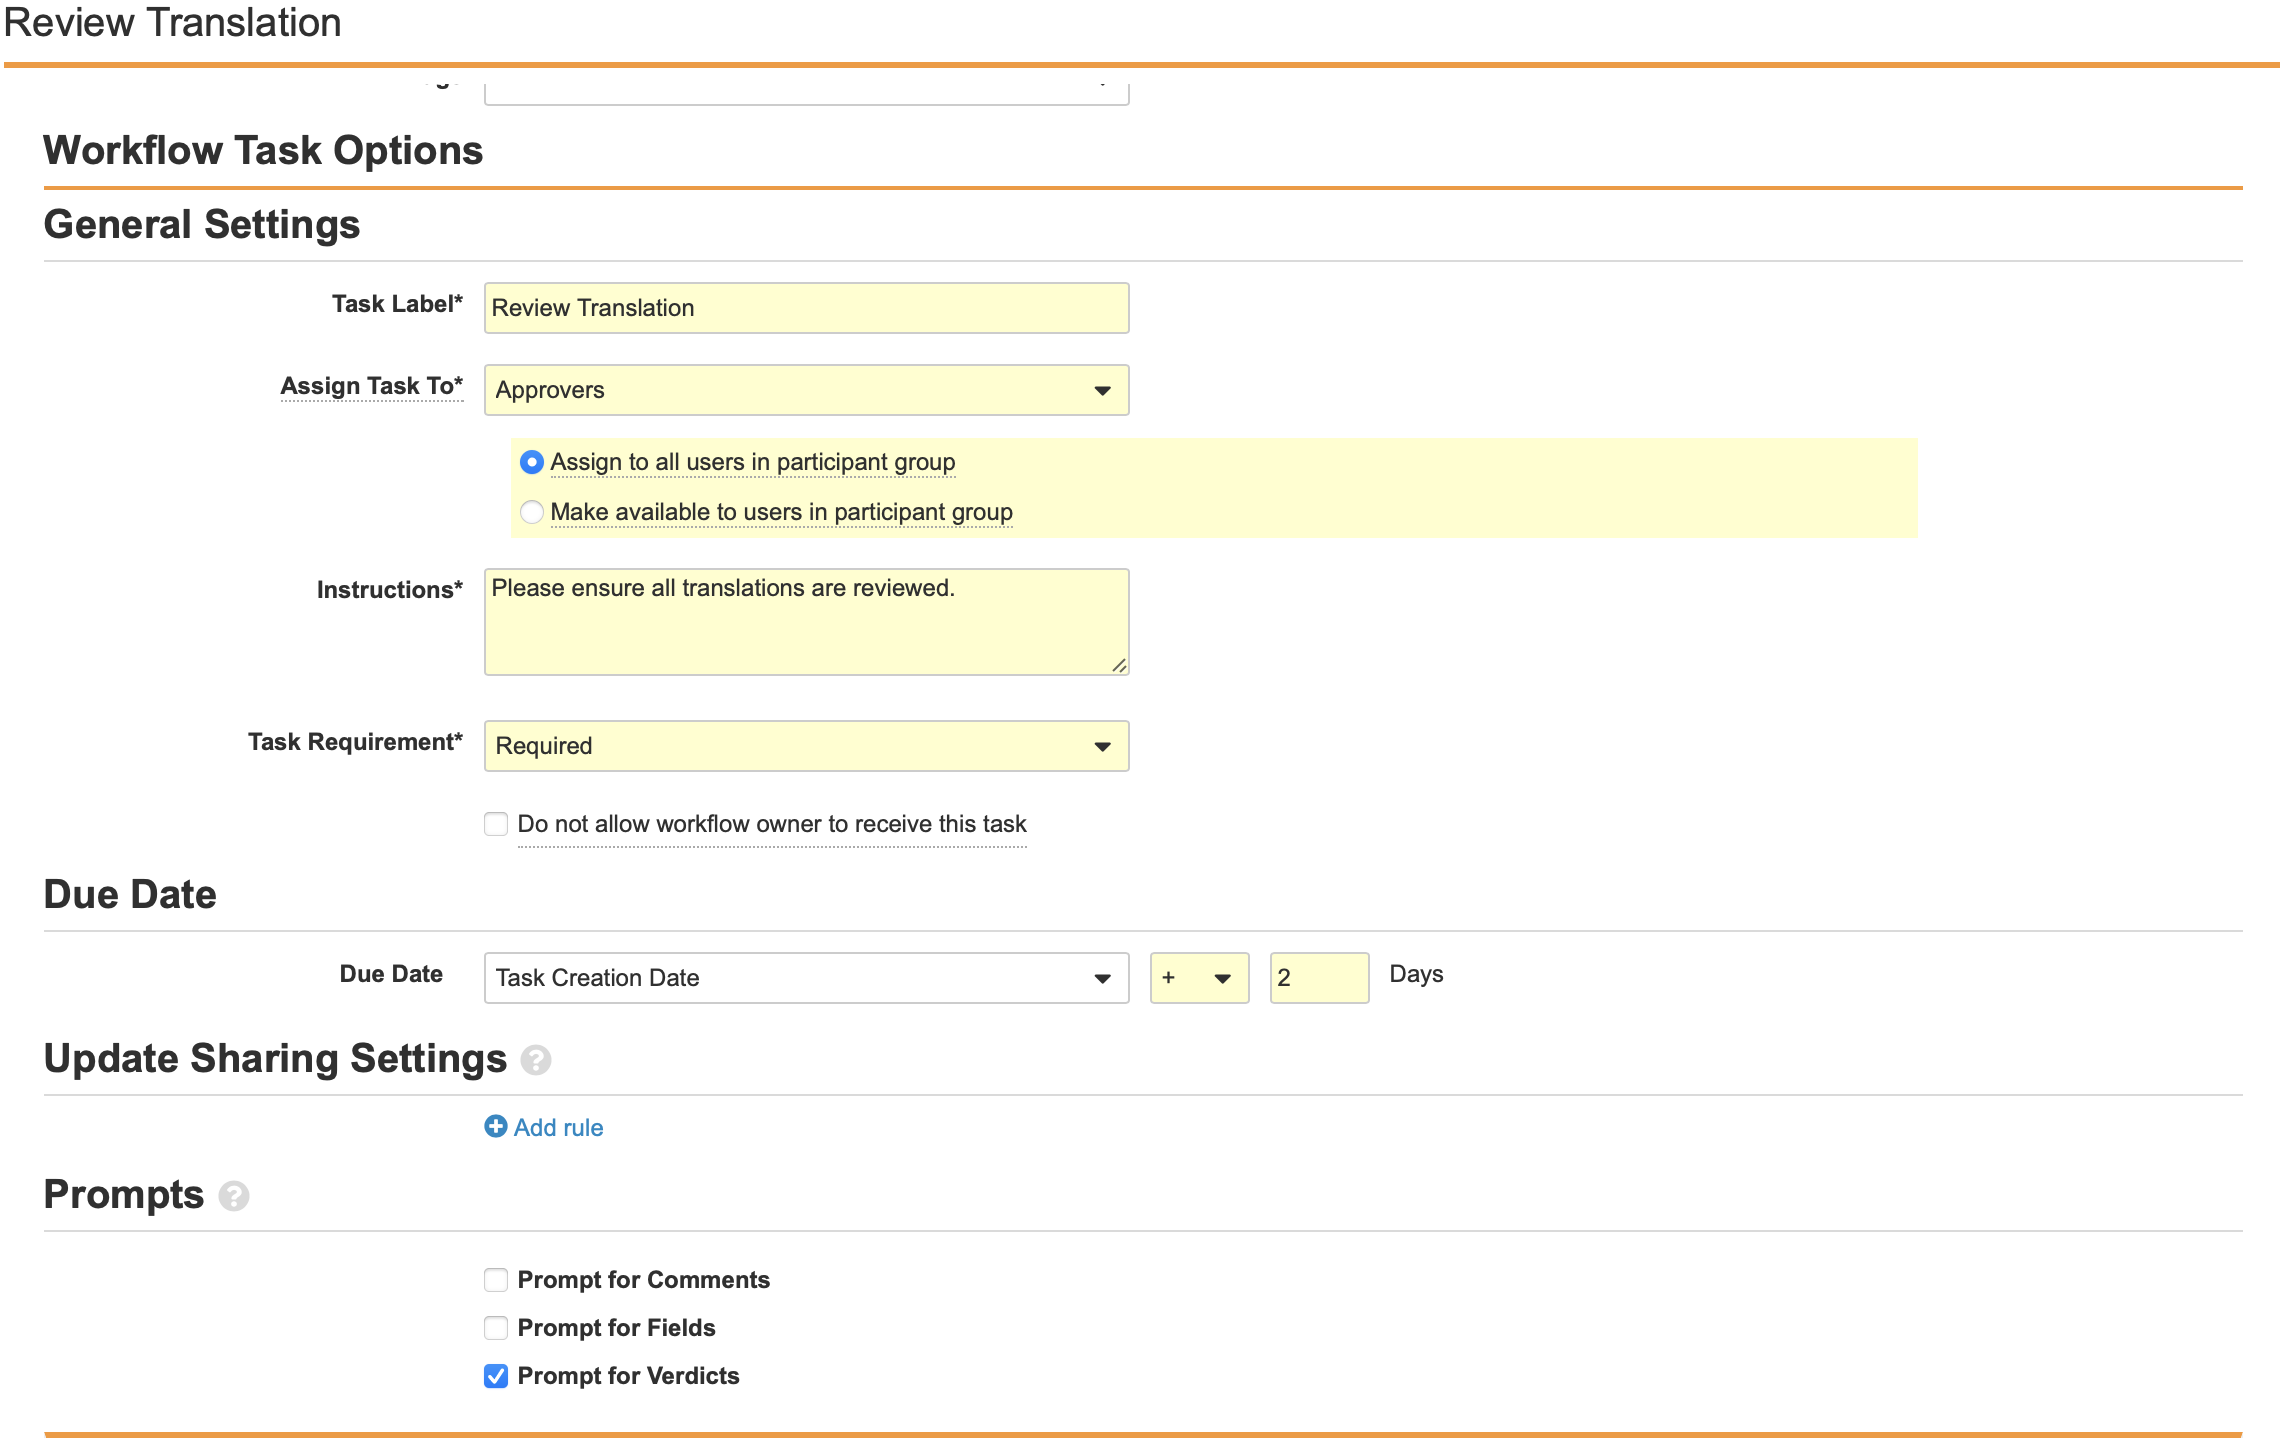
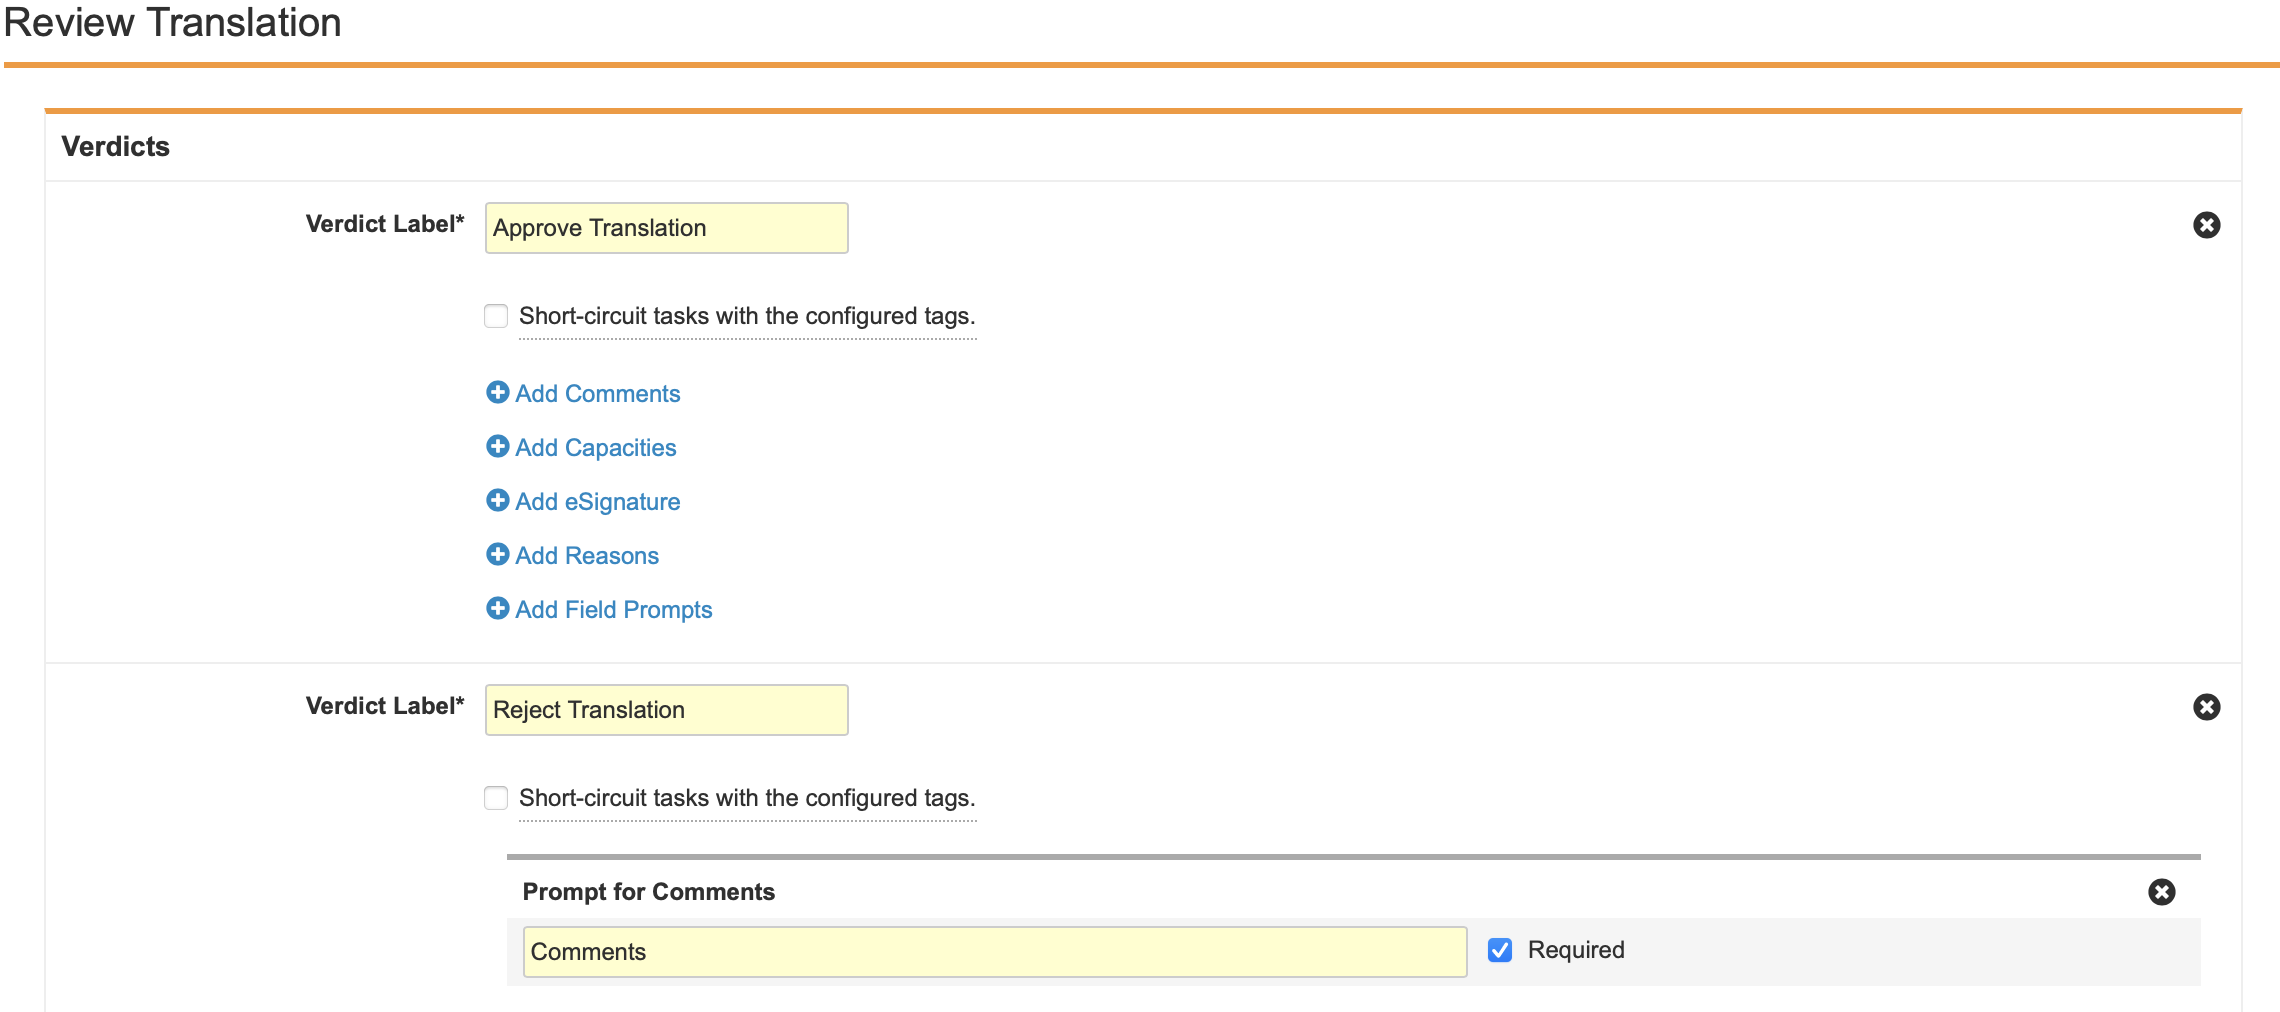
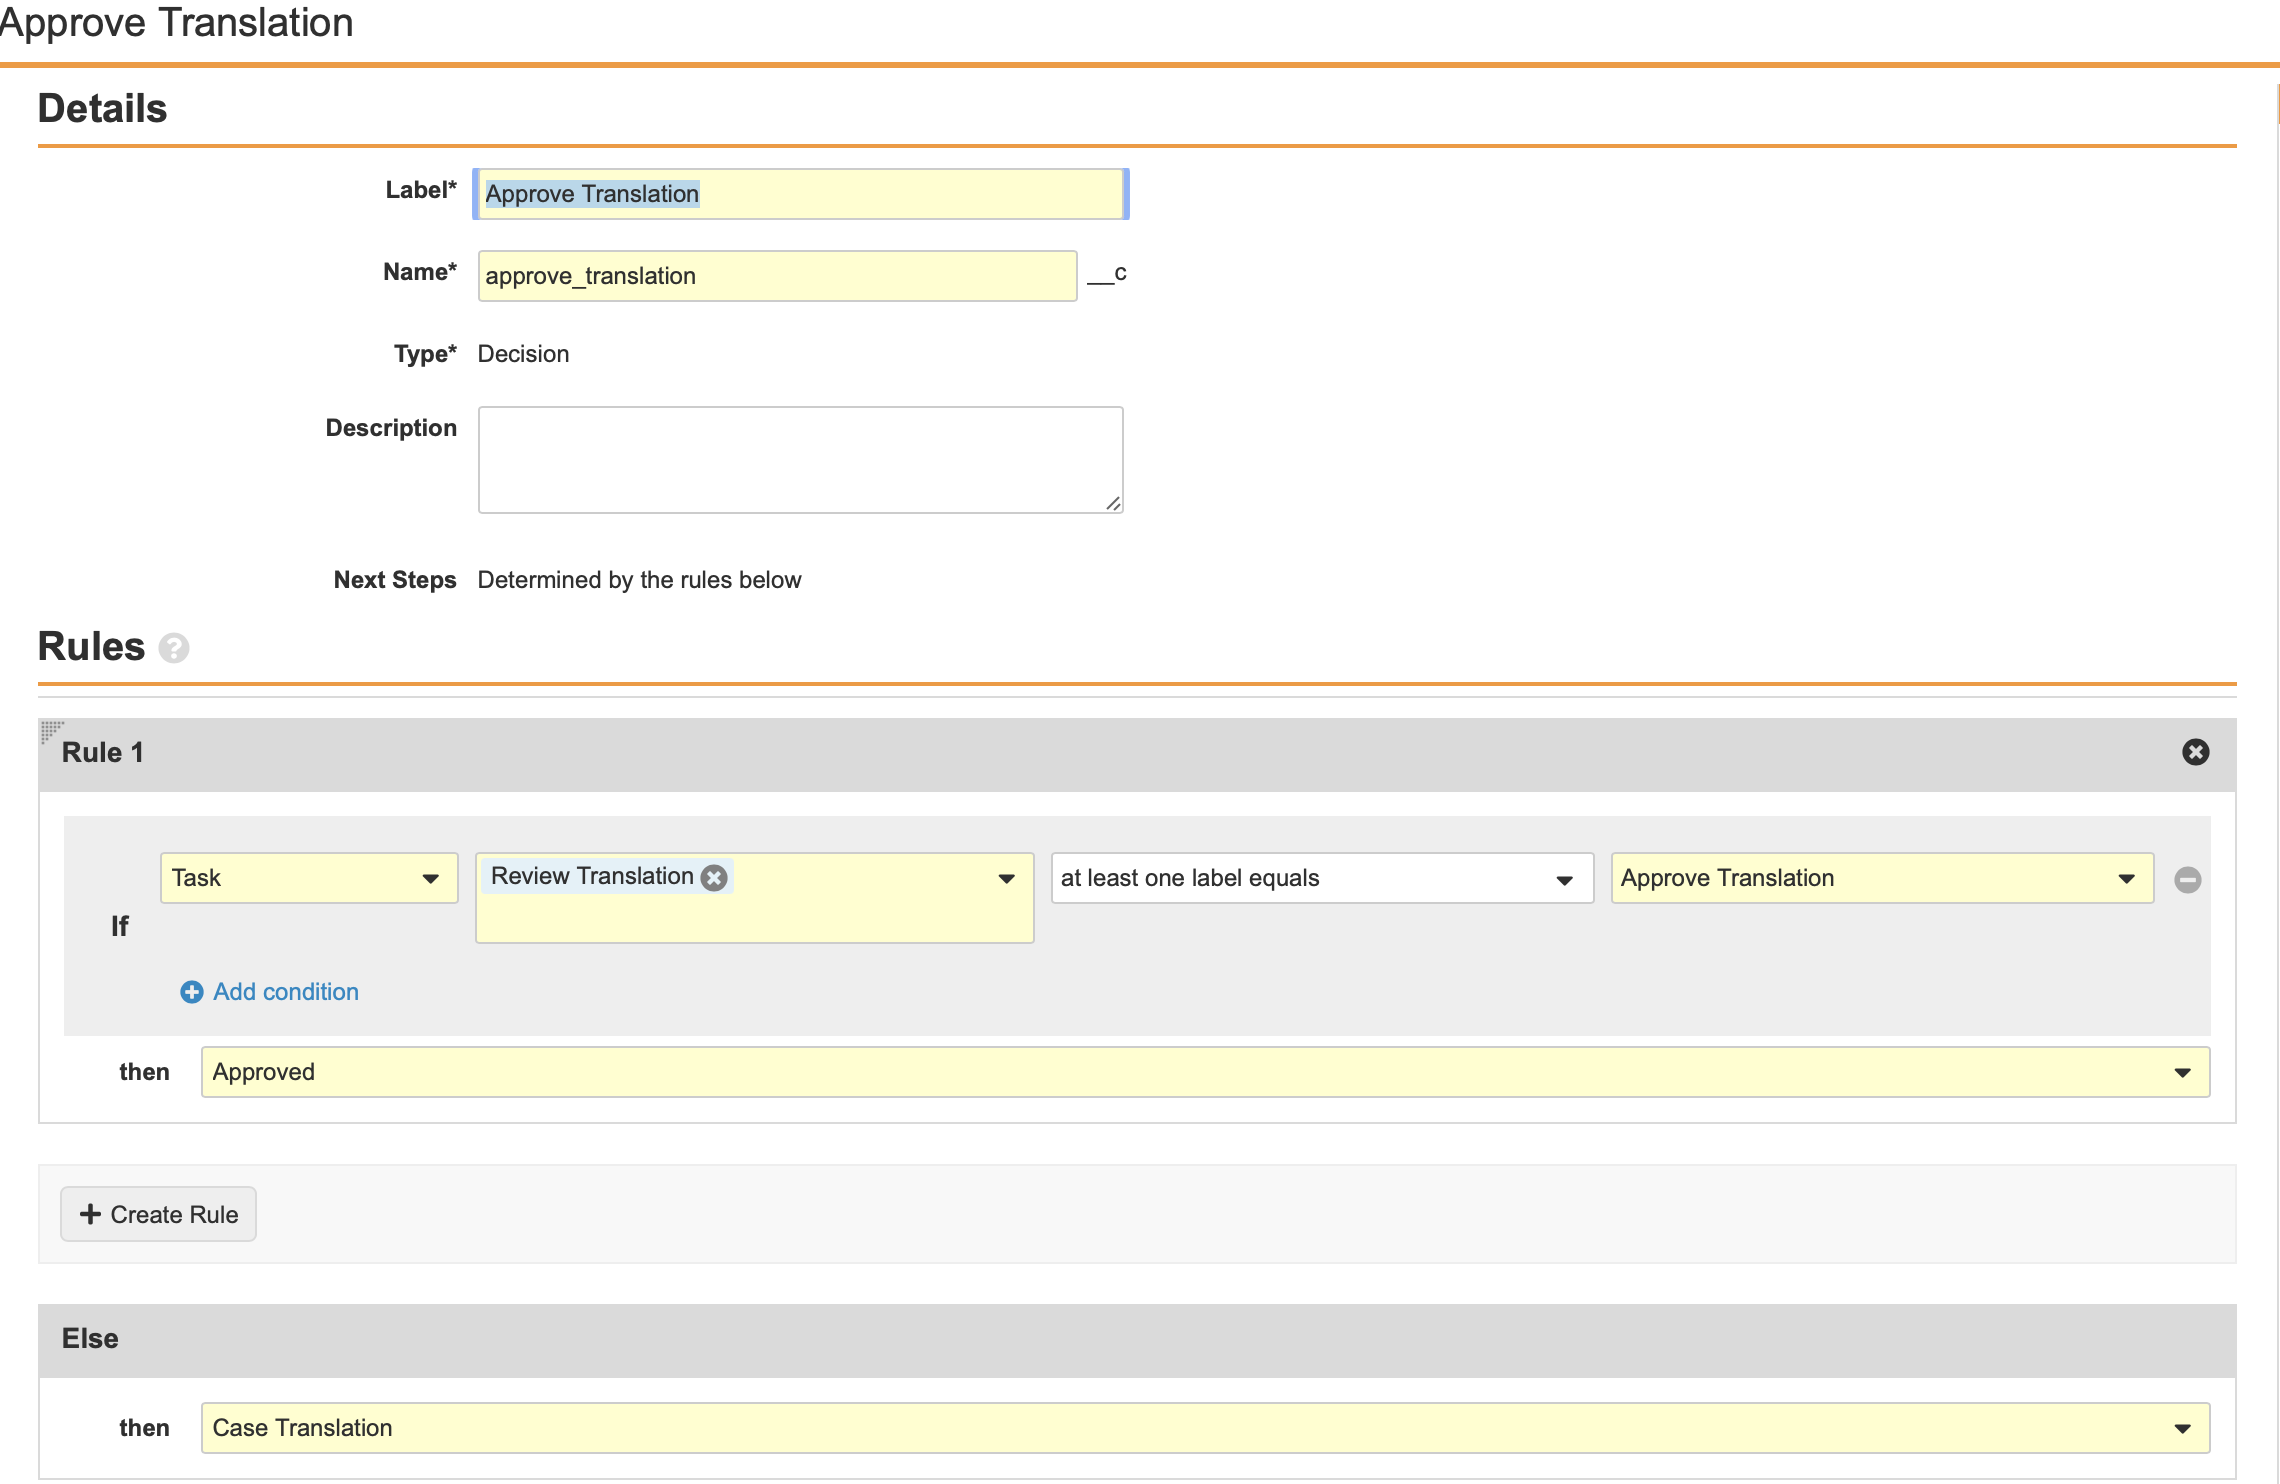
Configure the Localized Case Translation Workflow
The following configuration was originally provided in the 20R3 template.
| Checklist | Tasks |
|---|---|
|
|
|
|
|
|
|
|
|
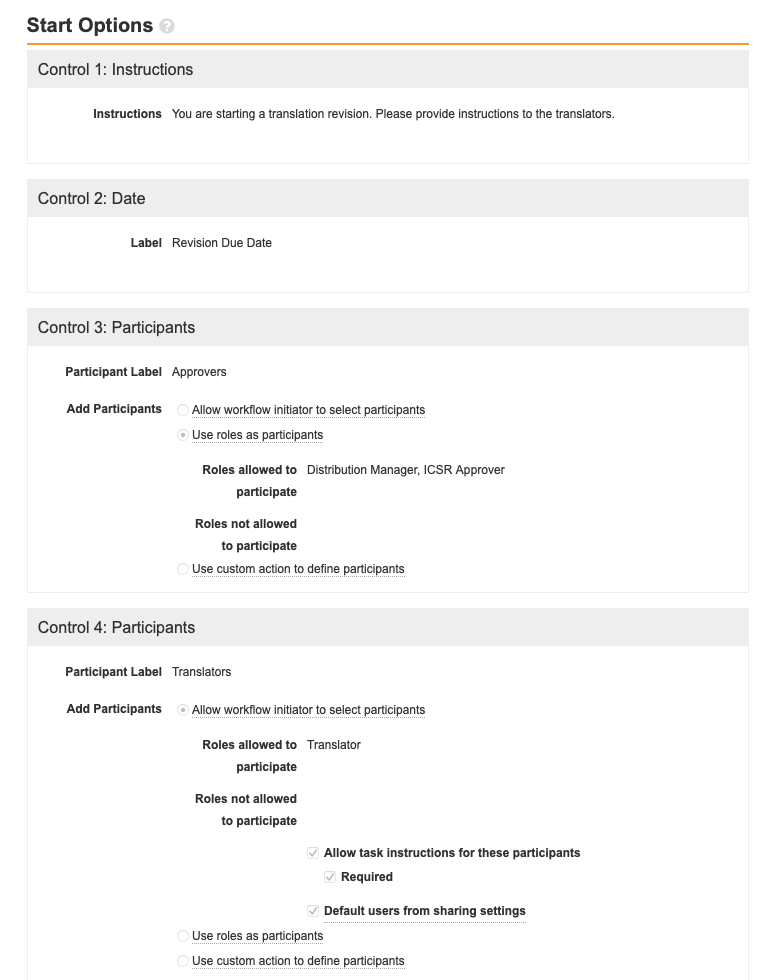
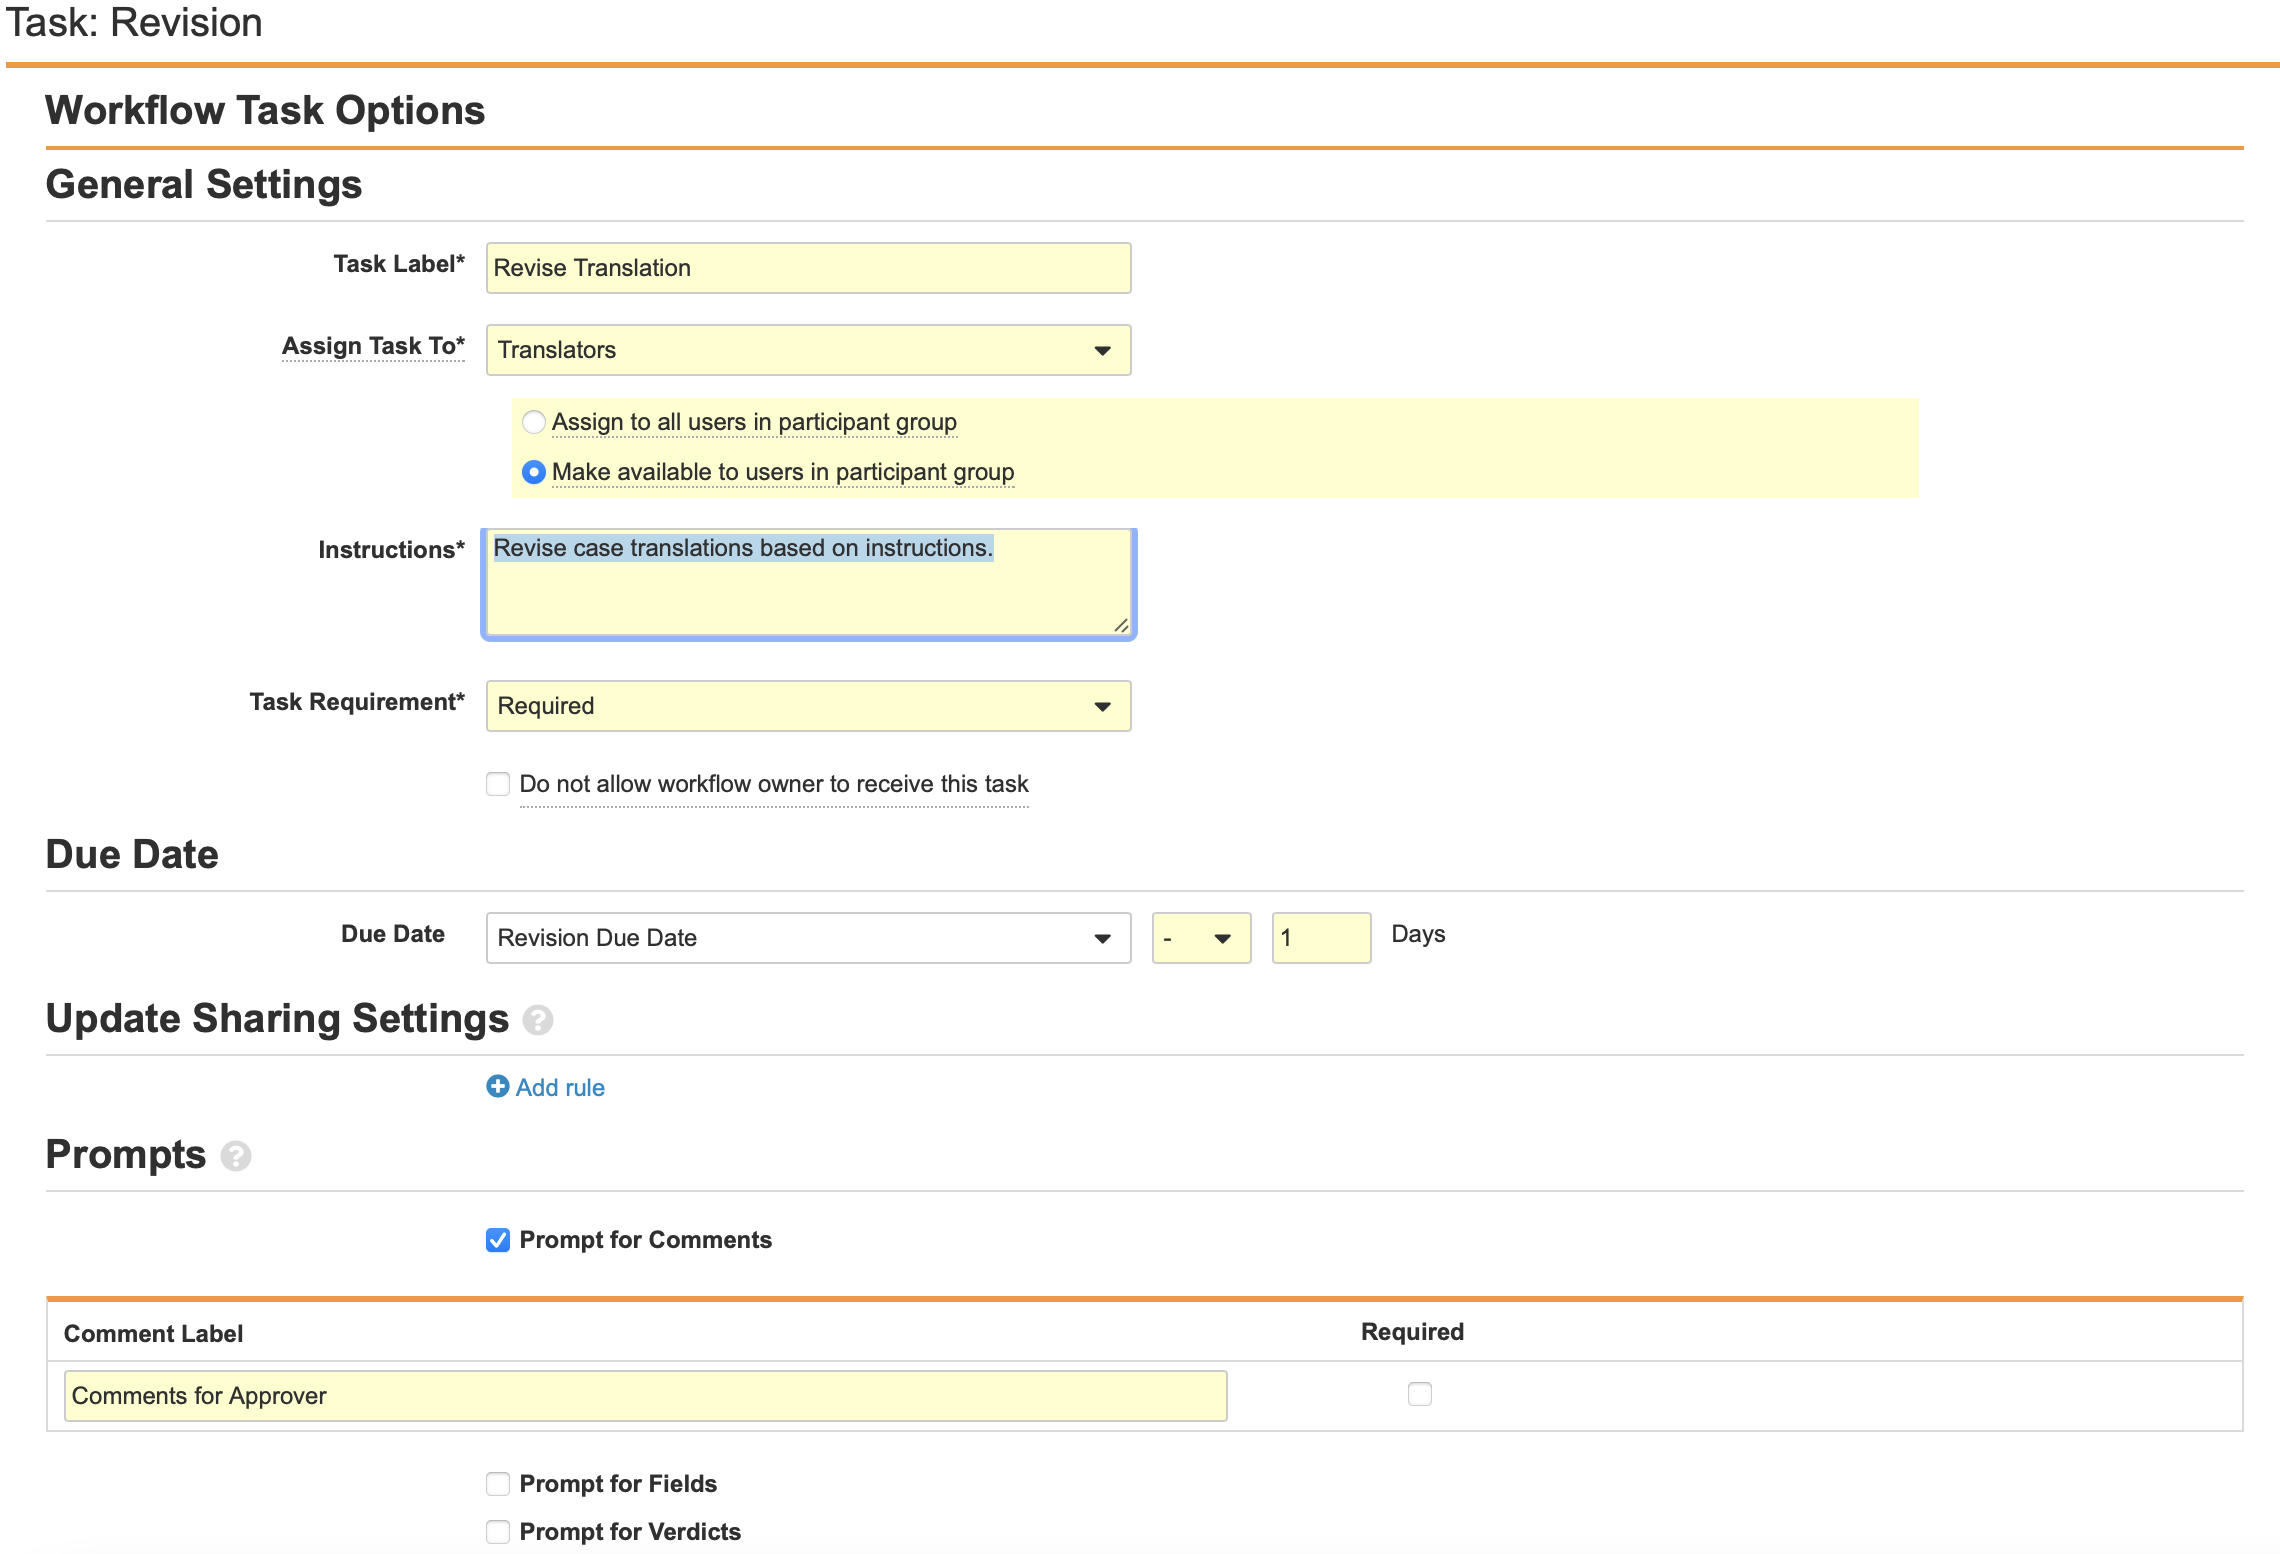
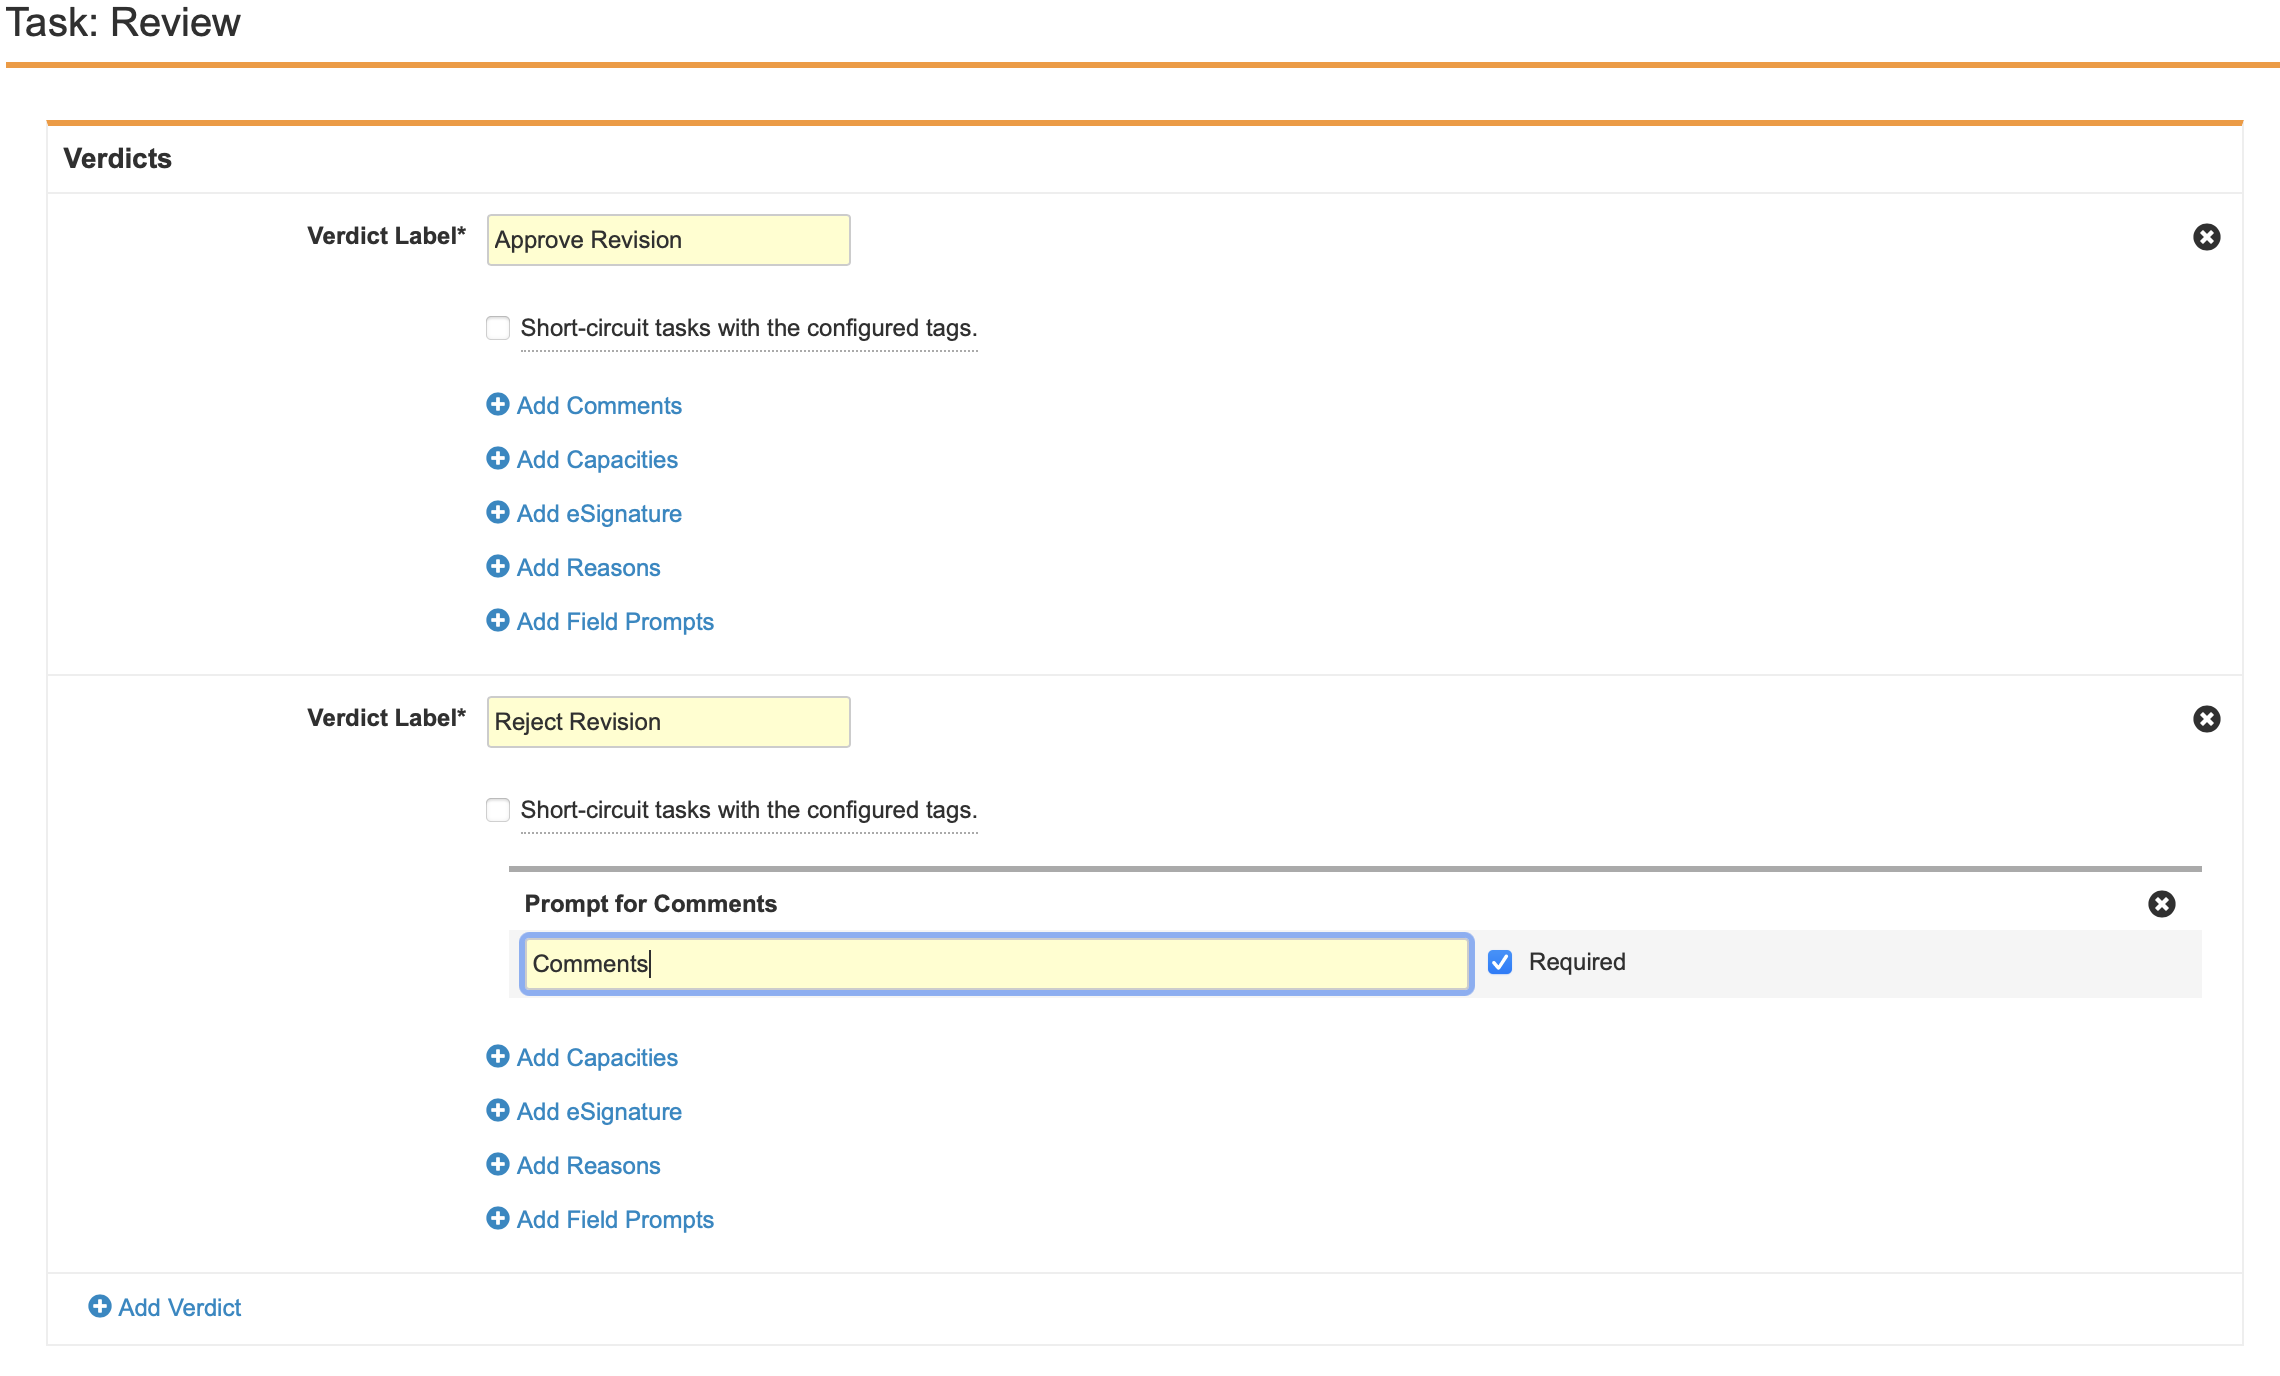
(21R2) (Optional) Configure the Localized Case Revision Workflow
| Checklist | Tasks |
|---|---|
|
|
|
|
|
|
|
|
|


(21R2) Configure Entry Actions and Criteria in the Localized Case Lifecycle
| Checklist | Tasks |
|---|---|
|
|
|
|
|
|
|
(21R2) Configure Lifecycle Stage Groups for the Localized Case Lifecycle
| Checklist | Tasks |
|---|---|
|
Security and Permissions
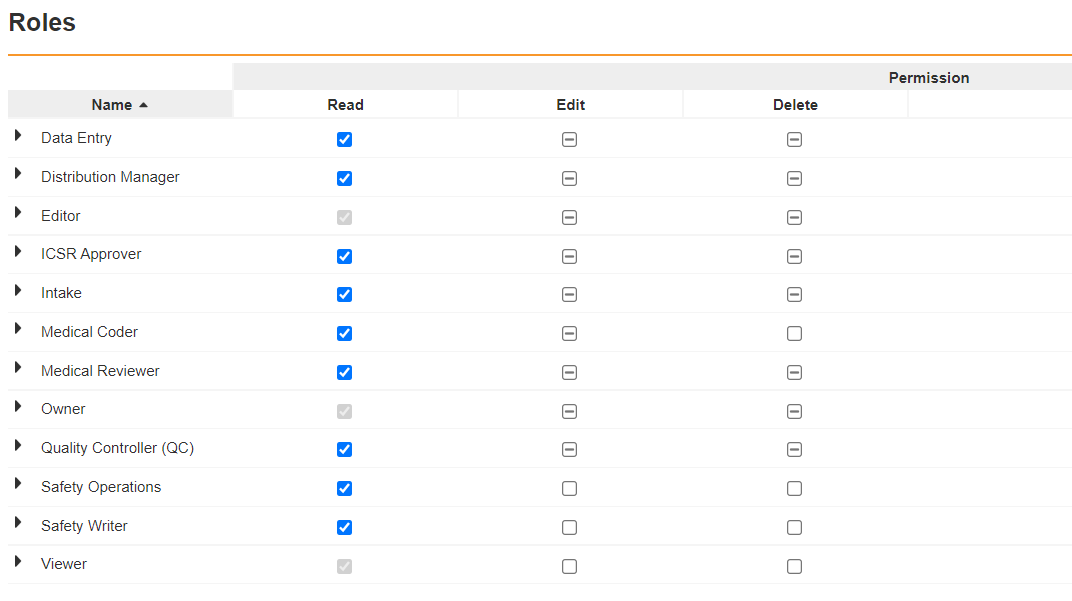
(21R2) Configure Atomic Security on the Localized Case Lifecycle
| Checklist | Tasks |
|---|---|
|
|
|

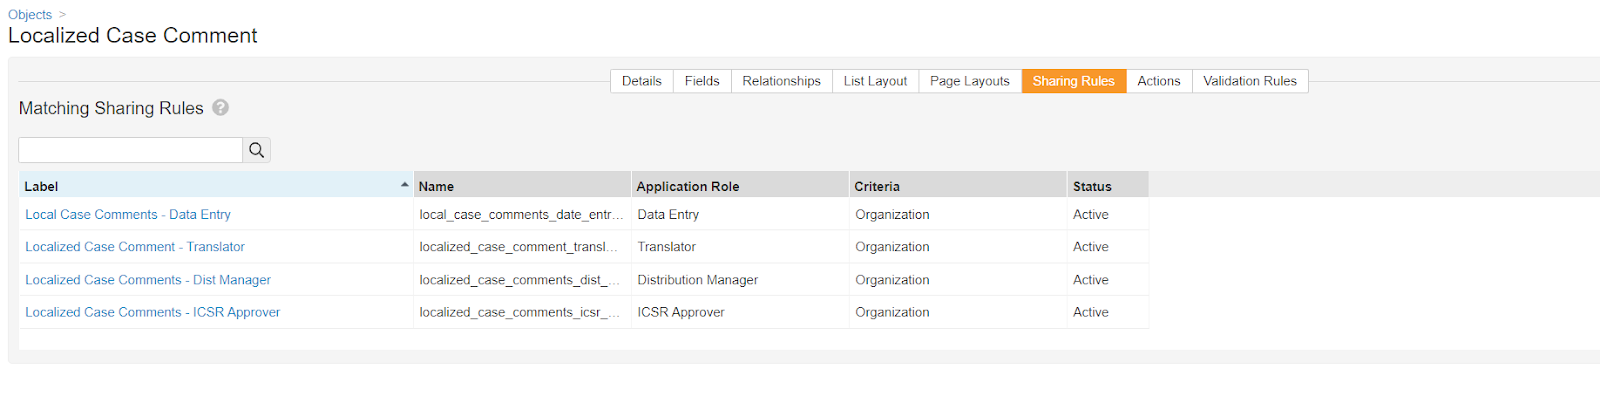
(21R2) Configure Matching Sharing Rules
Matching Sharing Rules must be enabled on every Localized object, the Transmission object, and the Case Product Registration object in your Vault. The list of localization objects are:
- Localized Case
- Localized Case Adverse Events
- Localized Case Assessment Results
- Localized Case Assessments
- Localized Case Causes of Death
- Localized Case Comment
- Localized Case Contacts
- Localized Case Drug History
- Localized Case Identifiers
- Localized Case Medical History
- Localized Case Product Dosage
- Localized Case Product Indications
- Localized Case Product Substances
- Localized Case Products
- Localized Case Test Results
- Localized Controlled Vocabulary
- Localized Country
- Localized Dose Form
- Localized Organization
- Localized Product
- Localized Reason Omitted
- Localized Route of Administration
- Localized Study
- Localized Substance
- Localized Unit of Measurement
- Transmission
- Case Product Registration
| Checklist | Tasks | ||||||||||||||||||||||
|---|---|---|---|---|---|---|---|---|---|---|---|---|---|---|---|---|---|---|---|---|---|---|---|
|
|||||||||||||||||||||||
|
|||||||||||||||||||||||
|

(21R2) Configure Permissions on the Transmission Lifecycle
| Checklist | Tasks |
|---|---|
|
(21R2) Configure Permissions for the Translator Role on Document Lifecycles
You must add the Translator role and permissions to the following document lifecycles:
- Narrative Lifecycle
- Case Generated Document Lifecycle
- Case Source Document Lifecycle
Perform the configuration described in the following sections on each of the above lifecycles.
| Checklist | Tasks | ||||||||||||||||||||
|---|---|---|---|---|---|---|---|---|---|---|---|---|---|---|---|---|---|---|---|---|---|
|
|||||||||||||||||||||
|
|||||||||||||||||||||
|
