Approved Cases are fully processed and ready to be sent to health authorities. When a Case is approved, the system locks the Case to prevent any changes prior to Submission.
Once a Case is locked, you can’t make further changes to the Case without initiating a Case Revision workflow or creating a Follow-Up Case.
Note: This page describes the Approval task in the default Case Processing workflow. If your organization has a custom workflow, follow the recommendations in your business standard operating procedure for approving Cases.
Requirements
- For expedited Cases, the Medical Review task must be complete.
- For non-expedited Cases, the QC task must be complete.
- You must be assigned the Head of Safety role.
Start the Approval Task
- To accept an Approval task, go to Home > Available Tasks, and then in the row for the task that you want to complete, select Accept.
You can also accept the task from the Case page. If you don’t see the task available, it may be assigned to another user or role. - Go to Home > My Tasks, and then select the Case name link that you want to review.
The Case page appears. - Review the Case.
- In the Approval task banner, select Complete.
The Approval window appears.
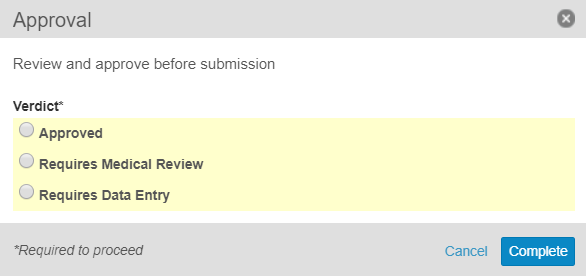
Approve a Case
- In the Approval window, select Approved.
- (Optional) Under Comments, enter any relevant comments about the Case or approval.
- Select Complete.
Result
The case advances to the Approved state and is locked to prevent further changes. At this point, the system sets the Approval Date.
About Approval Dates
As noted above, when a Case enters the Approved state, the system applies the date and time to generate the Approval Date. The following table shows how Approval Dates are used in reports and data elements:
| Report | Data Element/Use |
|---|---|
| E2B(R3) |
|
| E2B(R2) |
|
| In addition, the DSUR, PBRER, and PSUR aggregate reports include the option to Filter Cases By Approval Date. | |
Note: Depending on your Admin’s configuration, Approval Dates may also be manually set. If an Approval Date is manually set before a Case enters the Approved state, upon Case Approval the system updates the Approval Date.
Send a Case for Medical Review
- In the Approval window, select Requires Medical Review.
- Under Instructions, enter the reason the Case requires another round of medical review.
- Select Complete.
Result
The system assigns a new Medical Review task to the appropriate user or role.
Send a Case Back to Data Entry
- In the Approval window, select Requires Data Entry.
- Under Instructions, enter the reason the Case requires more data entry.
- Select Complete.
Result
The system creates a new Data Entry task.