Learn how to update your Vault’s configuration to enable the Medical Review Timeline.
About the Feature
The Medical Review Timeline displays Study information such as adverse events, product usage, dosages, test results, drug history, and medical history in an interactive and temporally visual context.
This feature will be available in the Medical Review stage and onwards by default in Vault Safety 20R2. For Vaults created in 20R1 or earlier, you must insert the Medical Review Timeline on the Case layout to enable this functionality. You can configure your Vault to show this feature in different lifecycle states.
Perform Medical Review provides more information on how to use this feature.
Configure the Timeline on the Case Layout
- In the Admin area, go to Configuration > Objects > Case > Layouts, and then select Case Page Layout.
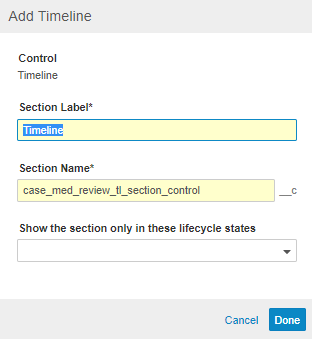
- If you have already inserted the Timeline section, you may skip this step. Select Insert Section, and then select Timeline. A box will appear:

You can drag the Timeline section and other sections to re-order the Case Page Layout. - If the Timeline section already exists on your layout, select the
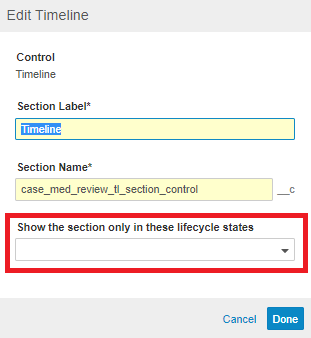
 icon next to it. A box will appear with a Show the section only in these lifecycle states dropdown:

- In the dropdown menu, select the lifecycle states you want the Medical Review Timeline to be available in and then select Done.
- Select Save at the top right of the page.
Result
Your Case Records are now configured to display the Medical Review Timeline in your selected lifecycle states.
Configure the Timeline for Imported Cases
To add or configure this feature for Imported Cases, go to the Configuration tab, select Objects > Case > Layouts, and then select Imported Case Page Layout.
Repeat the above steps to display the Medical Review Timeline for Imported Case Records in your selected lifecycle states.