Learn how to update your Vault’s configuration to enable working with Product Families and Inactive Ingredients as part of your data setup.
About the Feature
To support more efficient organization, maintenance, and reporting of products, you can now set up Product Families, indicating Therapeutic Area, and Inactive Ingredients with one or more Inactive Ingredient Registrations. Using Product Families enables grouping an Organization’s products with the same substance into sets. Adding Inactive Ingredients and Inactive Ingredient Registrations supports reporting.
Create the Product Family Layout
- Go to Admin > Configuration > Objects > Product Family > Layouts.
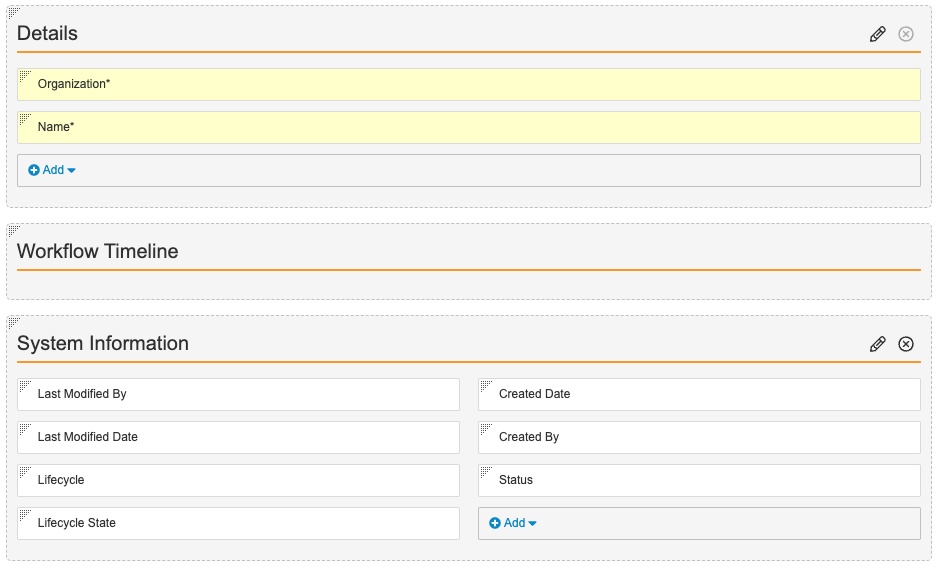
- Create the Product Family Detail Page Layout.
- Configure the Product Family Detail Page Layout as shown below:
Create the Inactive Ingredient Layout
- Go to Admin > Configuration > Objects > Inactive Ingredient > Layouts.
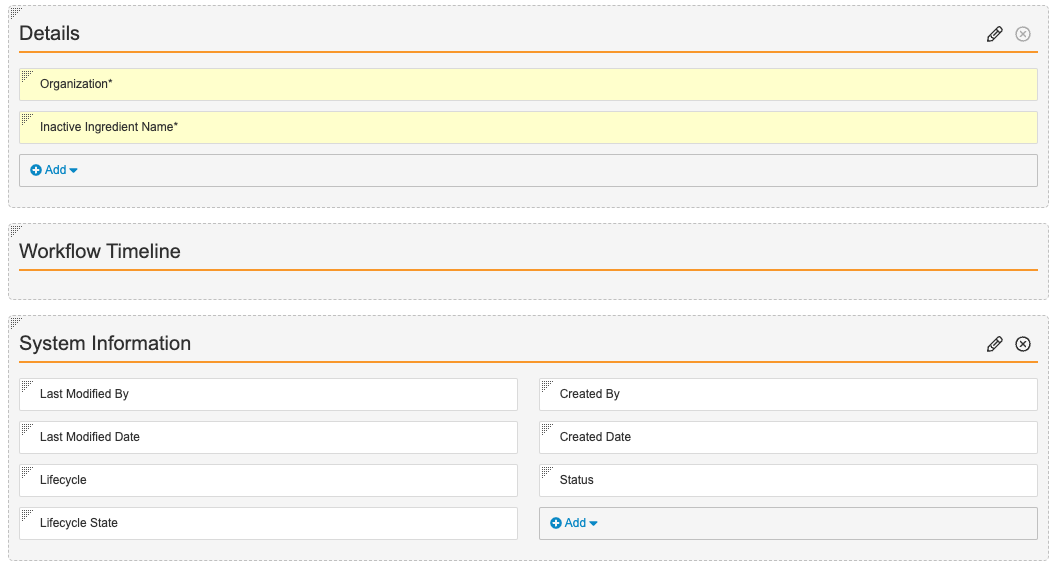
- Create the Inactive Ingredient Detail Page Layout.
- Configure the Inactive Ingredient Detail Page Layout as shown below:
Add the Inactive Ingredient Registration Layout
- Go to Admin > Configuration > Objects > Inactive Ingredient Registration > Layouts.
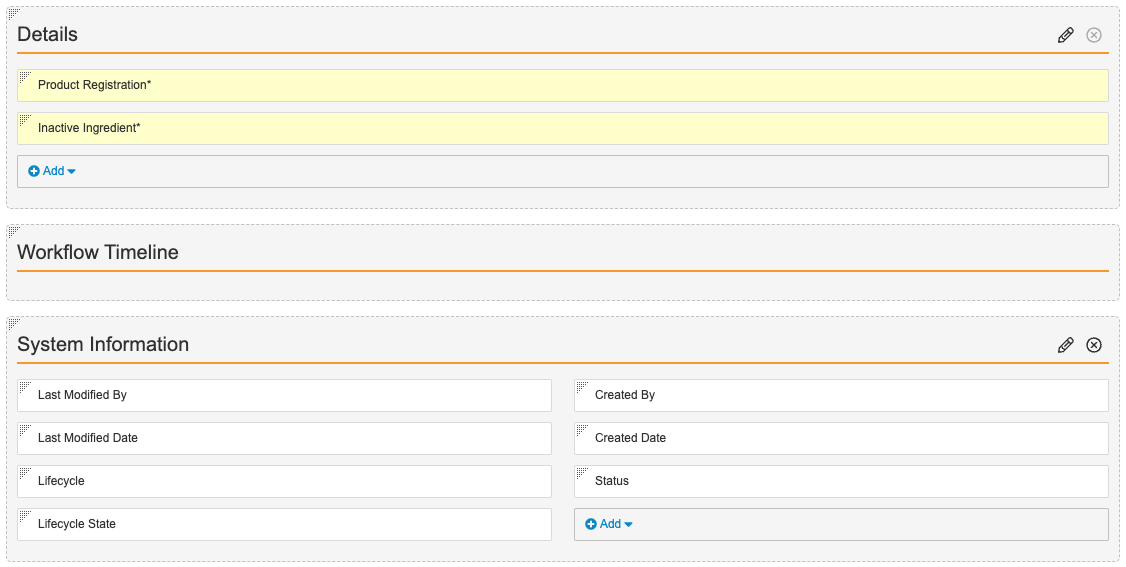
- Create the Inactive Ingredient Registration Detail Page Layout.
- Configure the Inactive Ingredient Registration Detail Page Layout as shown below:
Update Product Registration Layouts to Include Inactive Ingredient Registrations
- Go to Admin > Configuration > Objects > Product Registration > Layouts.
- Select the Product Registration Detail Page Layout.
- Select Insert Section, and insert the Inactive Ingredient Registrations Related Object section.
- Optionally, in the Creation Option section, select Create record in pop-up dialog.
- Select Done.
- On the Product Registration Detail Page Layout, move the Inactive Ingredient Registrations section above the System Information section. To rearrange sections, drag and drop.
- Select Save.